I've been a gamer since as long as I can remember. My dad got us kids an Atari 2600 for Christmas when I was five years old. Before that we had Pong, but he didn't really let us play - I think his rationale for purchasing it was due more to an affinity for racquet sports than video games. In fact, after a few quick games of Combat with me Christmas morning, he retired quickly from the 2600, complaining of not being able to compete against the thumb-speed of a five-year-old.
Over the years, I graduated to the Commodore 64 (where I first learned to code, in BASIC of course), then on to the Nintendo Entertainment System (NES). After that, I was primarily a computer gamer in the MS-DOS days. But also during most of this era, I was an avid arcade gamer as well. I often frequented the local "Putt Putt Golf and Games" and later the mall with my friends where we spent our allowances on various classics: Asteroids, Tempest, Ms. Pac-Man, Elevator Action, Rush'n Attack, Street Fighter, you name it.
Point is: I've played a lot of video games. And now, for better or for worse, I have passed this love on to my son, primarily through the Xbox family of console systems.
But I wanted to be able to share some of my classic favorites from my youth with him - and yes, wallow in nostalgia a bit if I'm honest.
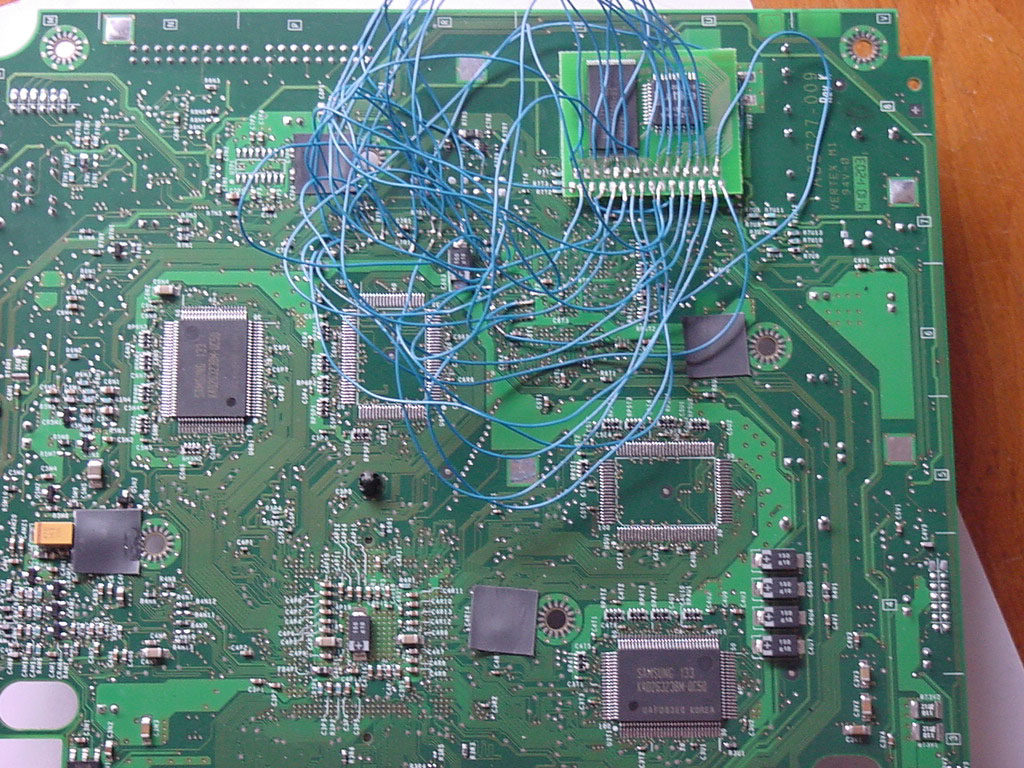
The key to playing the classics these days is of course through emulators. Modern computers are powerful enough to easily run any former state-of-the-art game as long as it's roughly 10 or more years old. I actually did have a setup years ago with some old retro games on my original Xbox, into which I soldered a chip to hack it into allowing the running of unsigned code:

Hey - I'm not saying it was pretty - this was my fist ever soldering job. Frankly I'm shocked it worked on the first try. Bottom line: it allowed me to throw some emulators on there and indoctrinate my boy with the TMNT game.
But, ever on the lookout for fun projects that the boy and I could do together, I recently decided that we'd do this thing right and build a proper arcade machine with all the fixin's: backlit marquee, two player joysticks, maybe even a trackball spinner.
As you might expect, there is a large subculture of people already doing this kind of thing on the internet. Possibly the best resource I've found is the ArcadeControls forum, which has a wealth of info on almost any aspect of building, buying, or modifying whatever kind of arcade machine you can imagine.
I decided to start with the easy part (for me) first: the electronics and software. As I mentioned in an earlier post, I had been looking for an excuse to play with a Raspberry Pi for quite a while. And as it turns out, they make great classic arcade emulators!
There is some fantastic software called RetroPie which will allow you to easily turn one of these simple little $35 computers into a full-on gaming emulator. Right out of the box, it supports almost every game emulator you can think of: Classic arcade games, Atari, Intellivision, the Nintendo family of systems, Sega, even Sony Playstation games.
I downloaded the image for the Raspberry Pi 2 and threw it onto a microSD card. It boots right into a nifty interface:

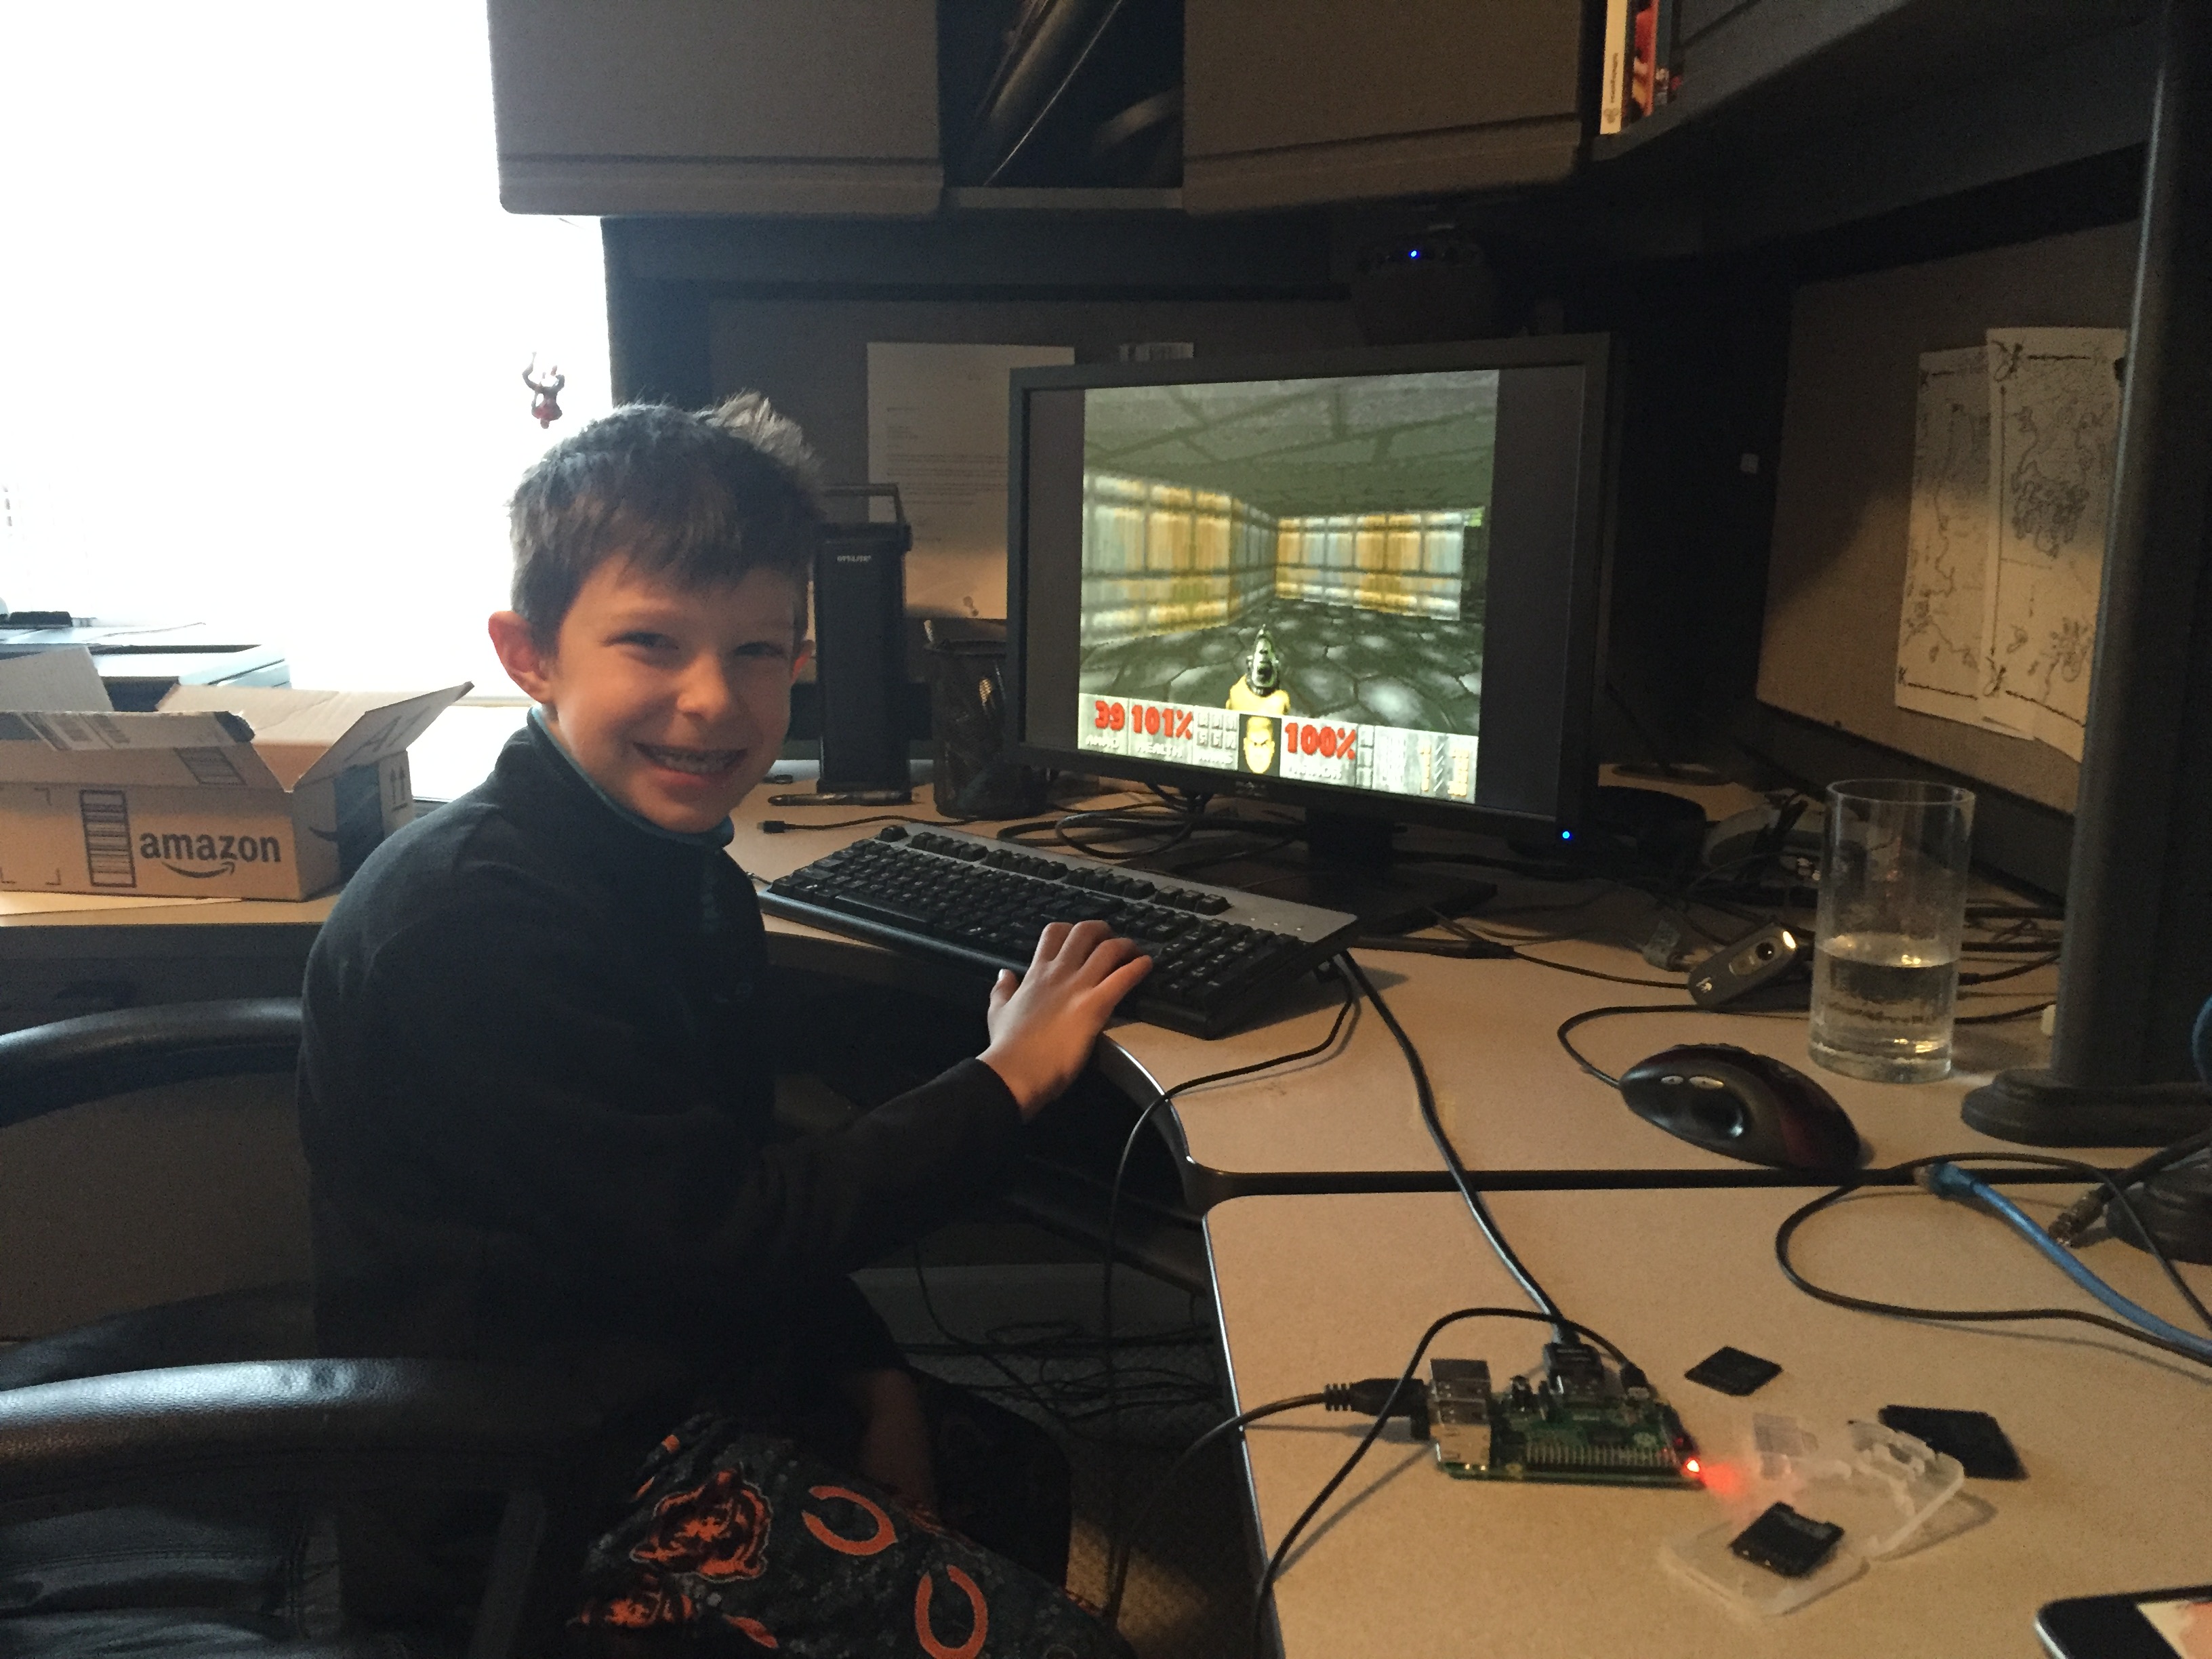
It even comes pre-loaded with some free games, including DOOM. My son co-opted the thing right away, even though there was no sound and he had nothing but a keyboard to play with:

At this point, I know what you're thinking: where are you getting the games?
Okay, so that's always a touchy subject in these circles. From what I've read, if you own the original game but are unable to play it for whatever reason, you're legally allowed to use the ROM (the game software itself) on an emulator.
True or not, if you're hung up about this kind of thing, pursuing a game emulator like this is probably not for you. Otherwise, Google is your friend.
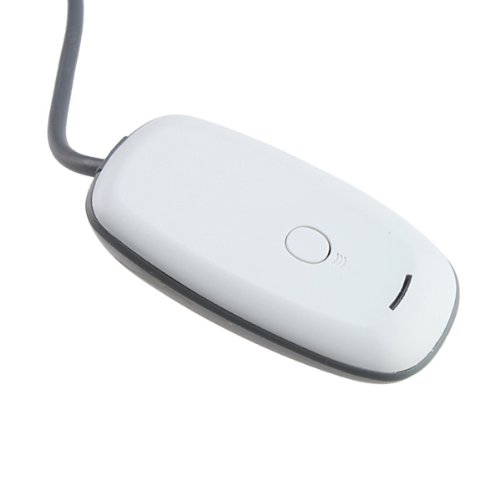
Last thing worth mentioning before I list out the hardware: the controller. Without a proper arcade box to put this into (that's for part 2), you can use a keyboard to play the games if you like. But for my taste, that's kind of clunky, so instead I used one of my Xbox 360 game controllers, in conjunction with one of these:
They're cheap and work right out of the box with Retropie.
So bottom line, before I get to the building of the arcade cabinet, here's where we stand so far in terms of cost and parts:
- Raspberry Pi (I went with a v2 but v3 is out now and is definitely the way to go): $35
Also note that these are hard to find at MSRP at the time of this writing since they're so new, so YMMV. - If you don't already have a micro USB cable/wall charger that you can use, that's another $10 or so.
- Micro SD Card - ~$10 - just about any card will do the trick. 32GB is more than enough space for these tiny games.
- HDMI cable - $5
If you aren't going to go any further in terms of building a proper arcade cabinet, you might consider the following items as well:
- If you want to use an existing XBox 360 controller to play, you can pick up the aforementioned receiver for under $10
- A case - there are many to choose from, most under $15.
So all in, assuming you have your own controller (and if not, may I suggest one of these?) - or are happy with a trusty keyboard - you can stop here and have your very own retro gaming machine that can play any games from your youth for well under $100.
But, if you're like me and are crazy, and have the space in the rec room for it, you keep going and build an upright machine with old school joysticks and buttons.
Stay tuned for Part 2 where things will likely get really interesting. Fair warning: I haven't done this part yet! I'll be back when I've completed the project.
