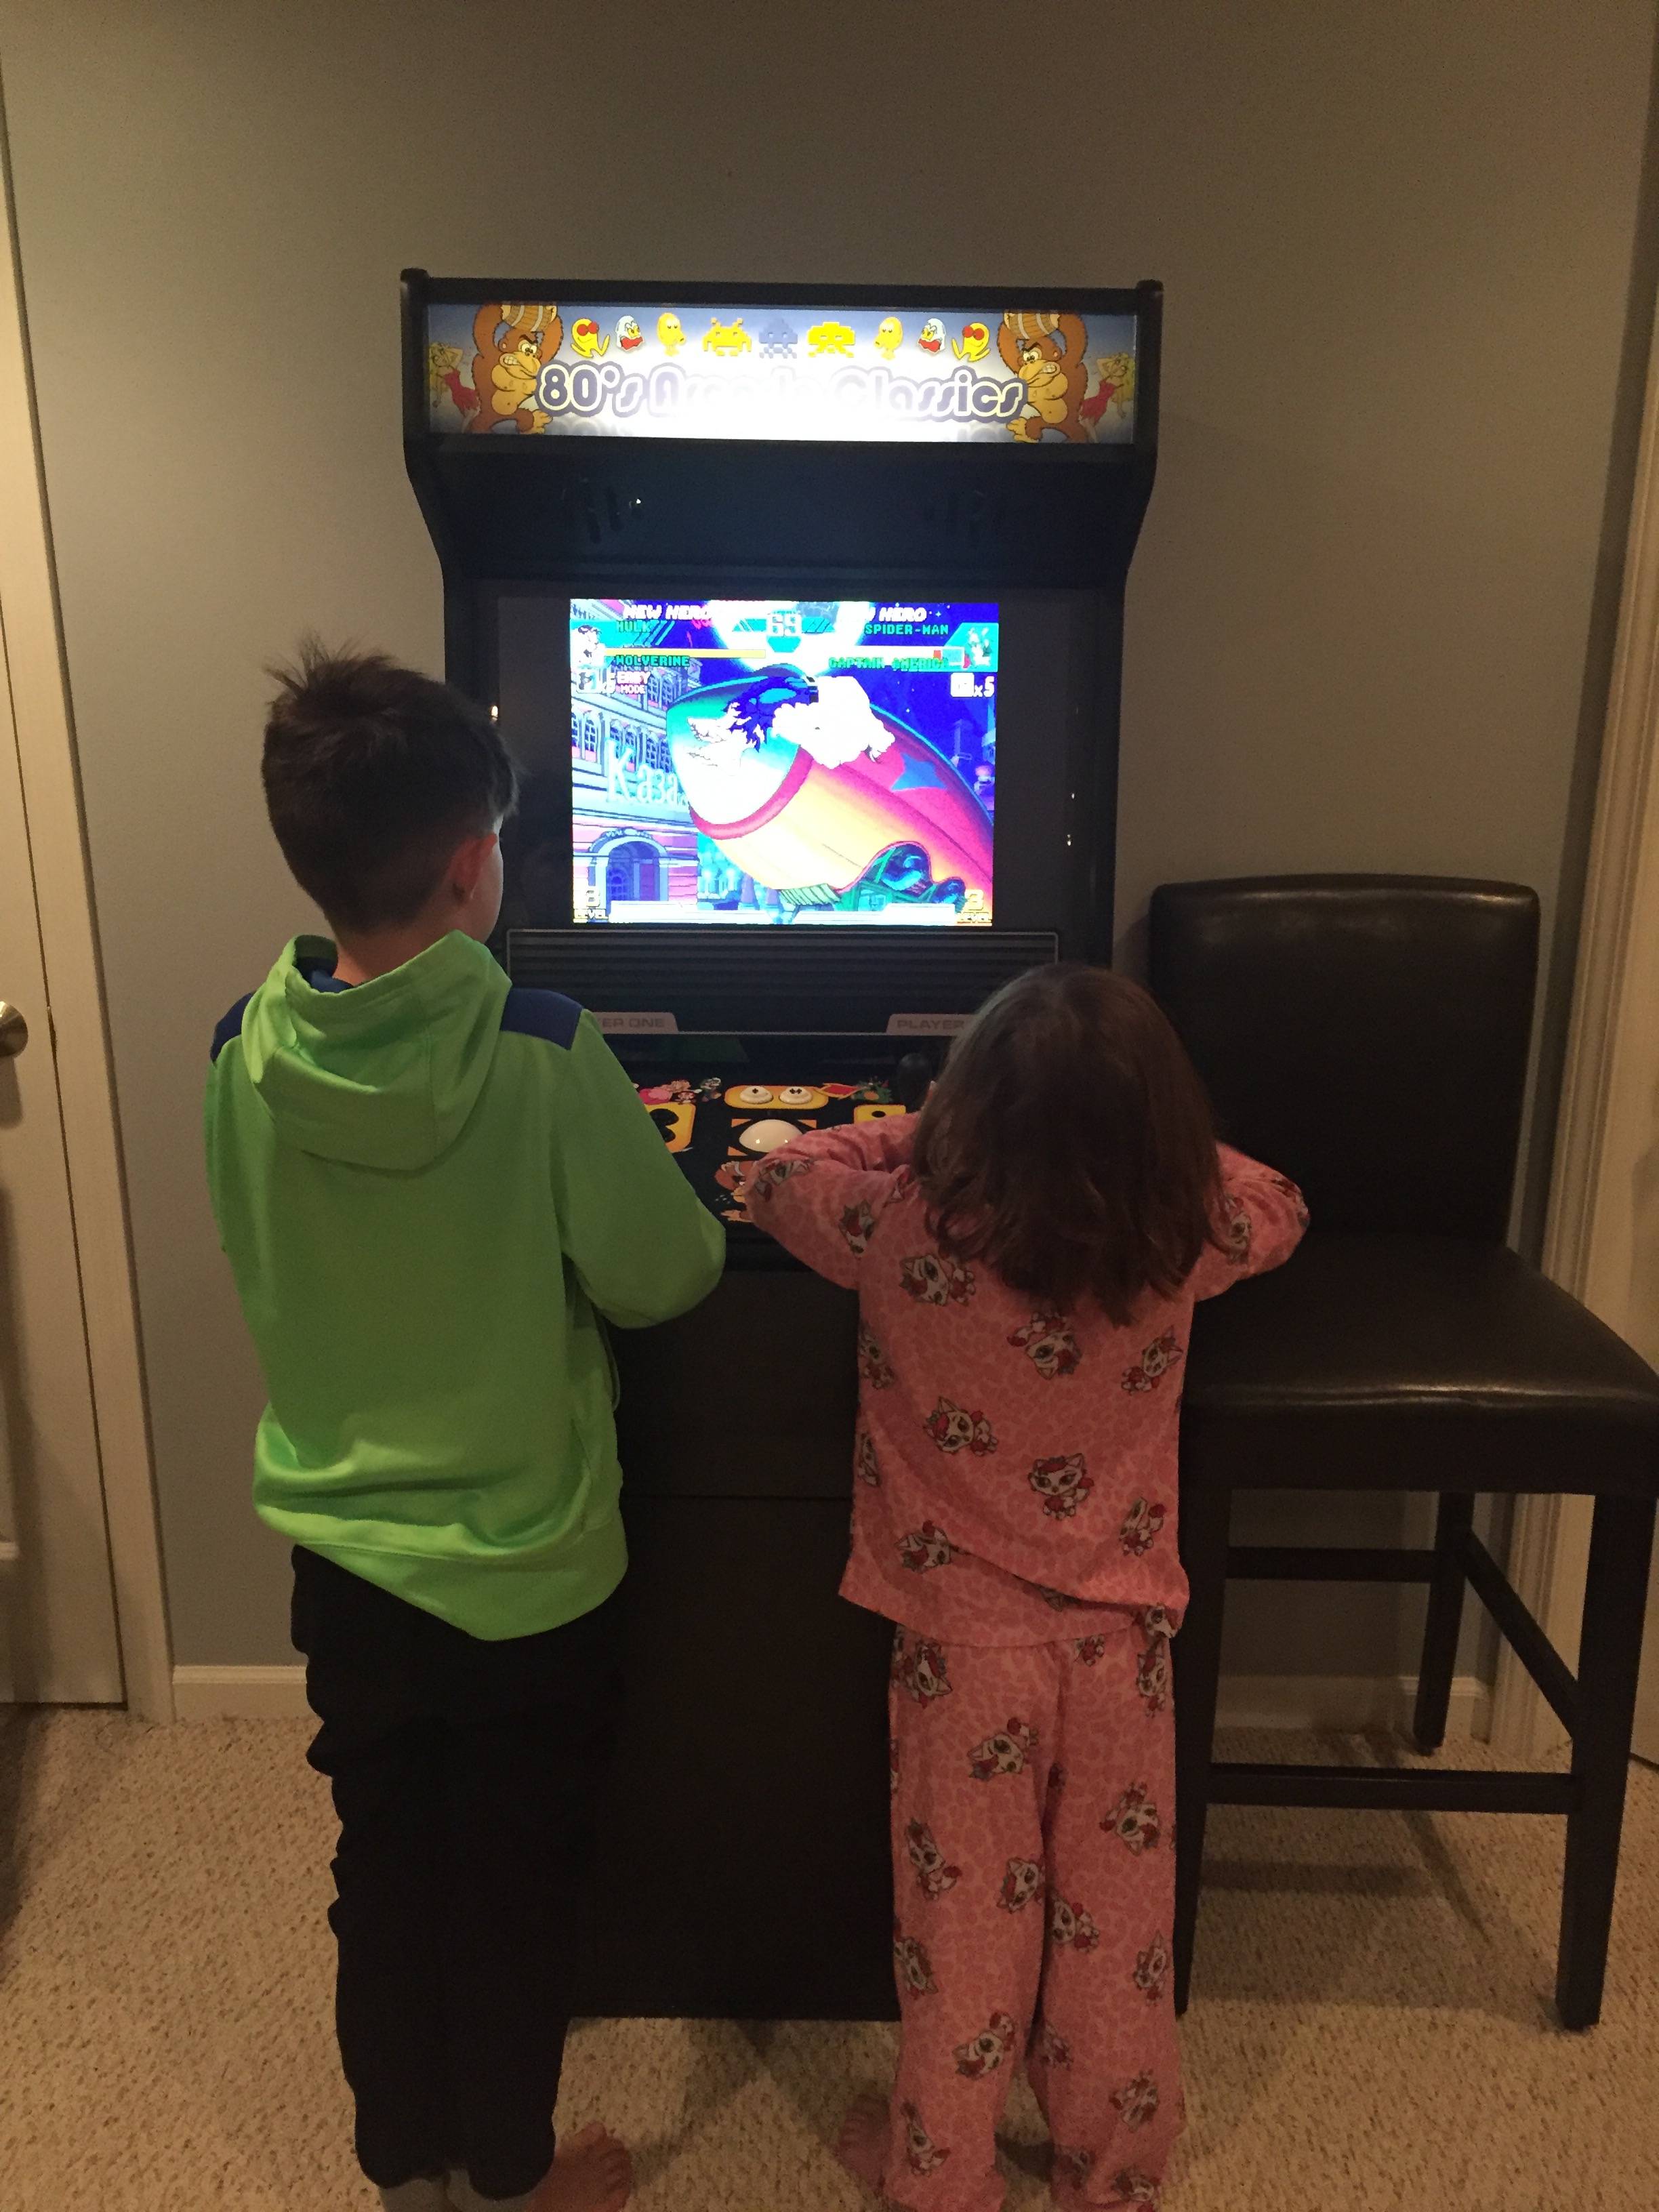
In Part 1 I put together a Raspberry Pi-based arcade machine using the nifty RetroPie software and an old XBox 360 controller.
It took me a while, but I finally bit the bullet and ordered an X-Arcade Tankstick and an arcade cabinet from RecRoomMasters.com.
I had originally wanted to build my own joystick/button controller board, but I noticed a year had passed and I wasn't any closer to doing so, so I resigned myself to starting with a Tankstick and if I ever got up the gumption to build my own, I could always drop it into the unit later.
Nothing really unusual about the build of the cabinet itself, it's pretty much plug and play. The folks at RecRoomMasters do a very nice job and the cabinet is very sturdy and well put-together. It fits a 27" monitor perfectly.
The Tankstick is configured as a keyboard, while the trackball is a mouse. The configuration can get complicated, but I followed this YouTube Series step-by-step, which made it easy:
You do need a PS2 (old school, pre-USB connector) keyboard to program the tankstick, which not everyone may have. There are adapters available that might work, though I didn't try one.
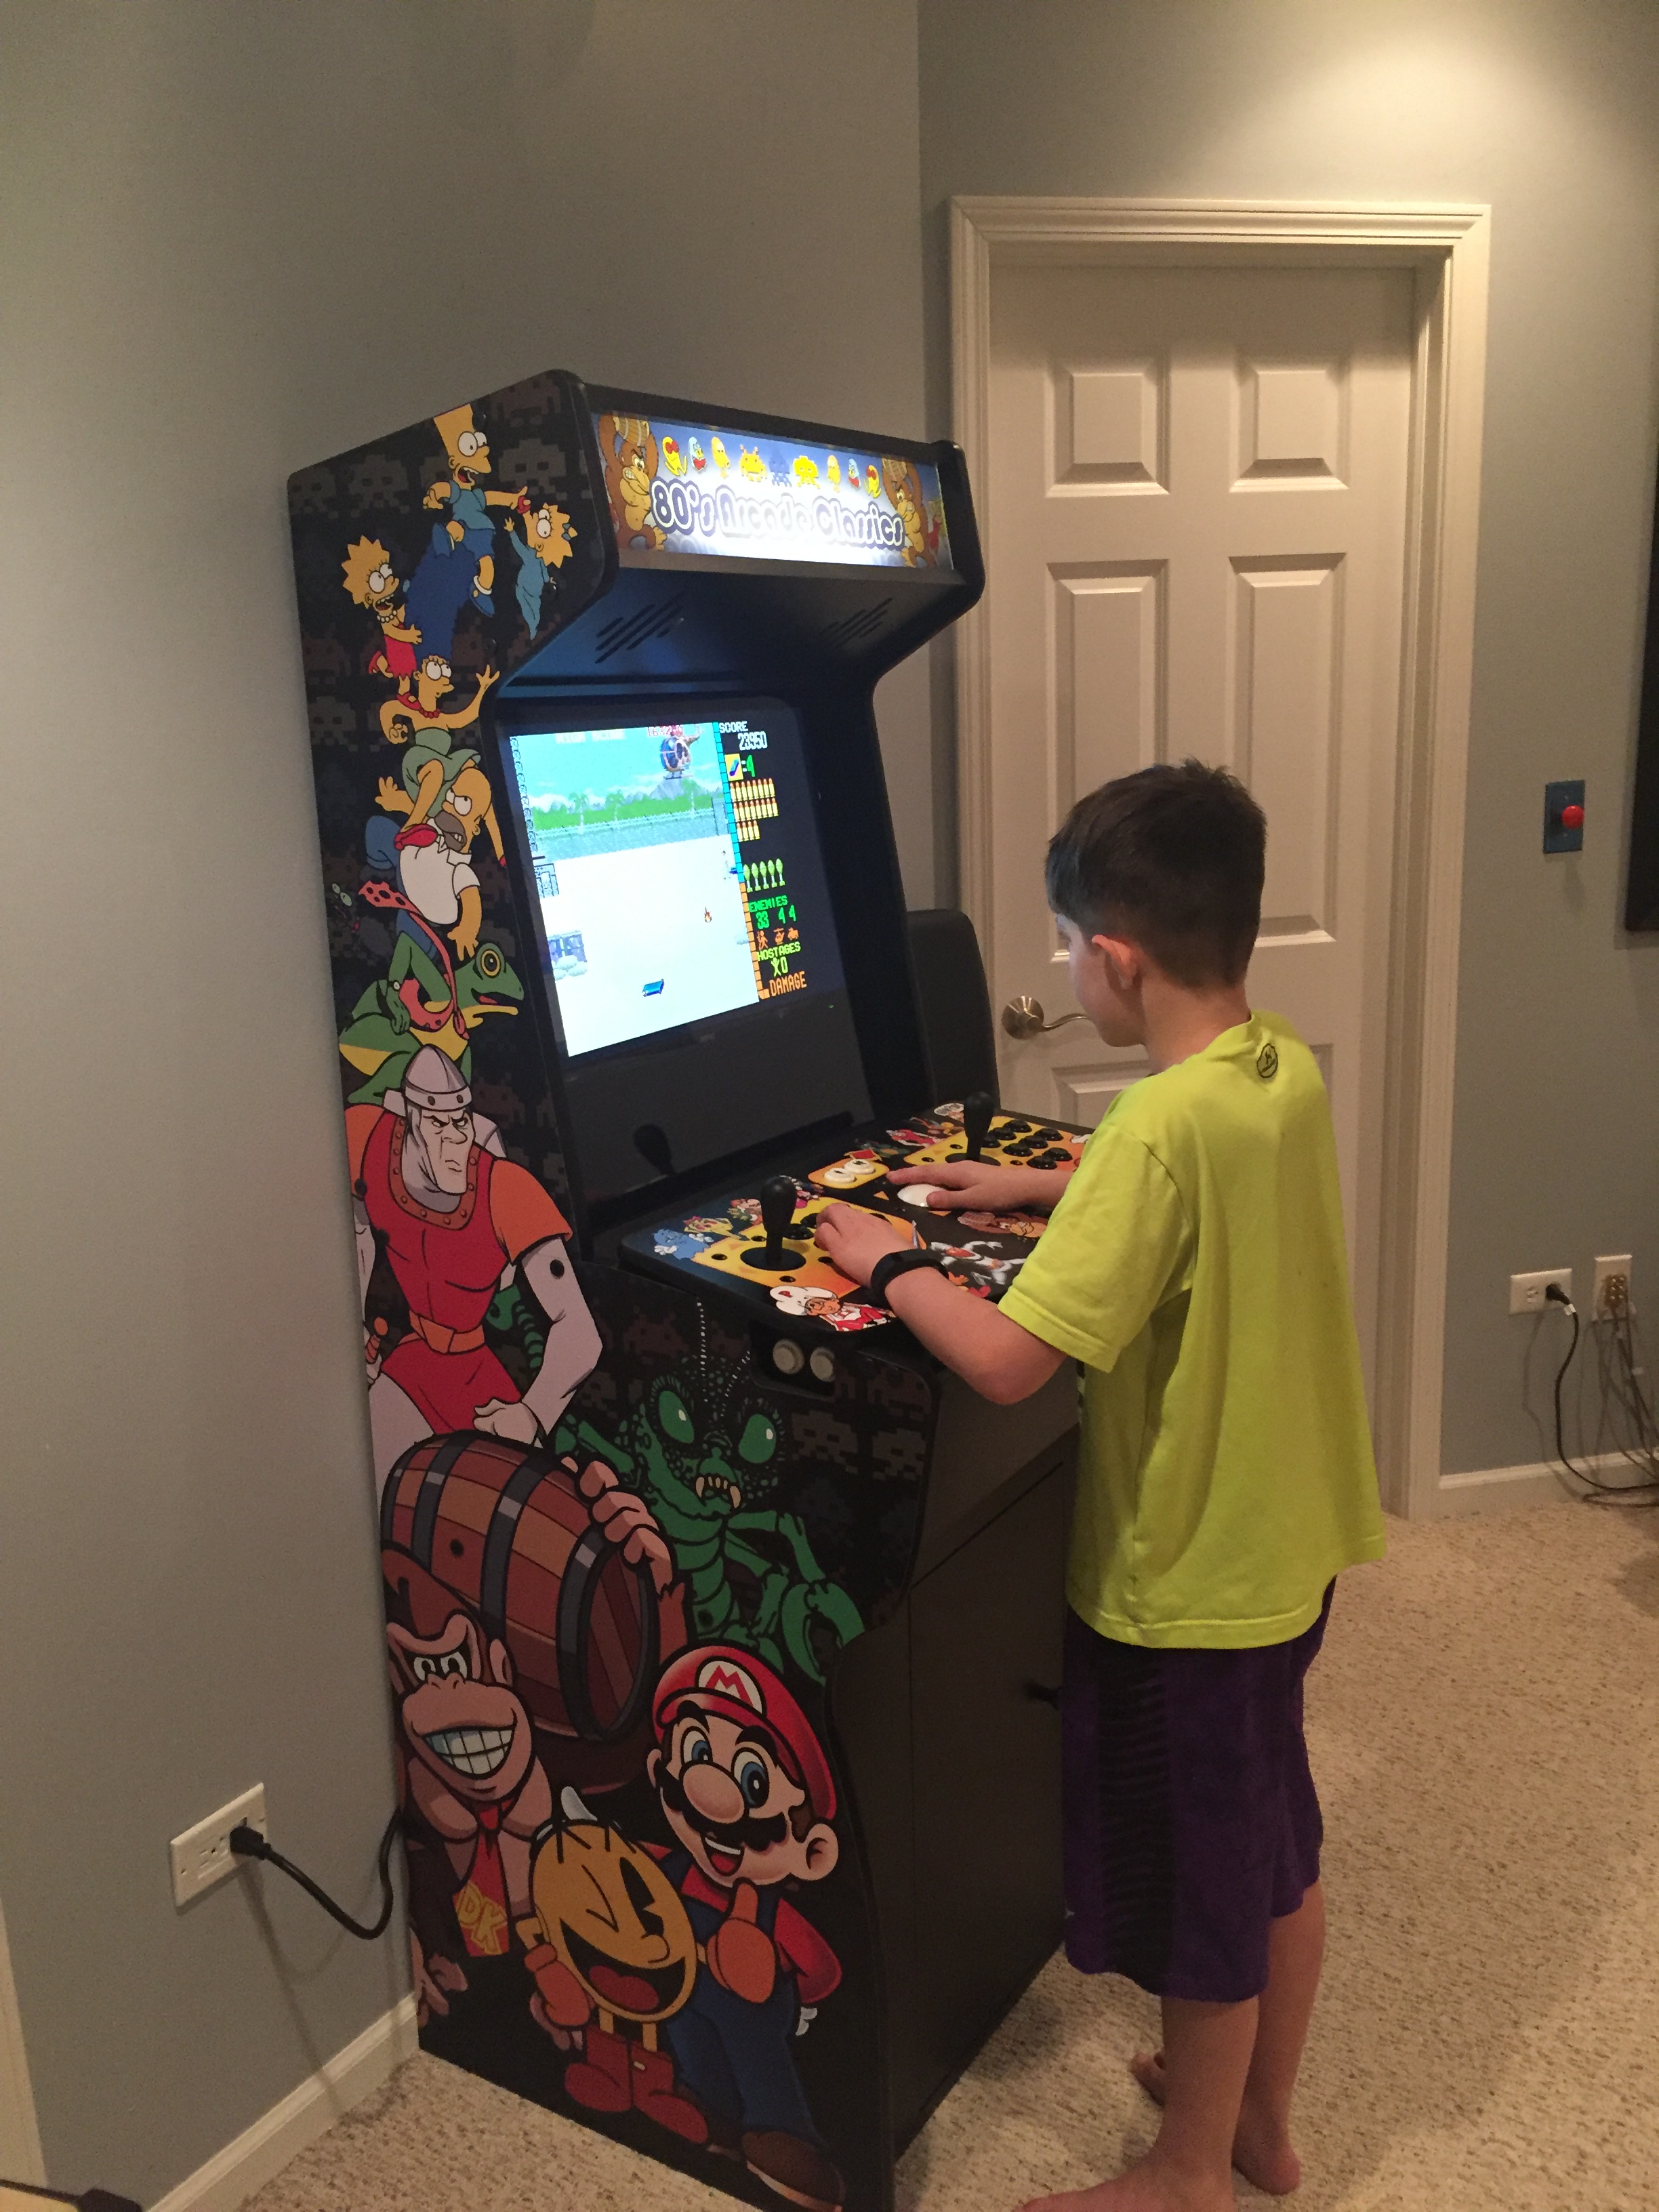
The finished product looks pretty nice. I chose one of the decal layouts that RecRoomMasters had on offer as well as a decal to go on top of the tankstick. The backlight on the marquee is also a nice touch.
Customizations
For audio, I ordered some cheap Logitech desktop speakers. Mounting them was a bit tricky, as there's speaker slats on both the base and up top, below the marquee. The bottom was not an option, though, as the decals covered the holes. So I had to mount them above, which probably sounds better anyway.
Ideally, you'd mount two 4" full-range speakers like this one which would cover the hole perfectly so none of the backlight above would seep through. However, it's a pricier solution, plus requires you to get a separate amplifier - more work than I was up for at this point. So I rigged the speakers in place using electrical tape. I did my best to cover the hole but it's not perfect. Still, not annoying enough for me to change it anytime soon:
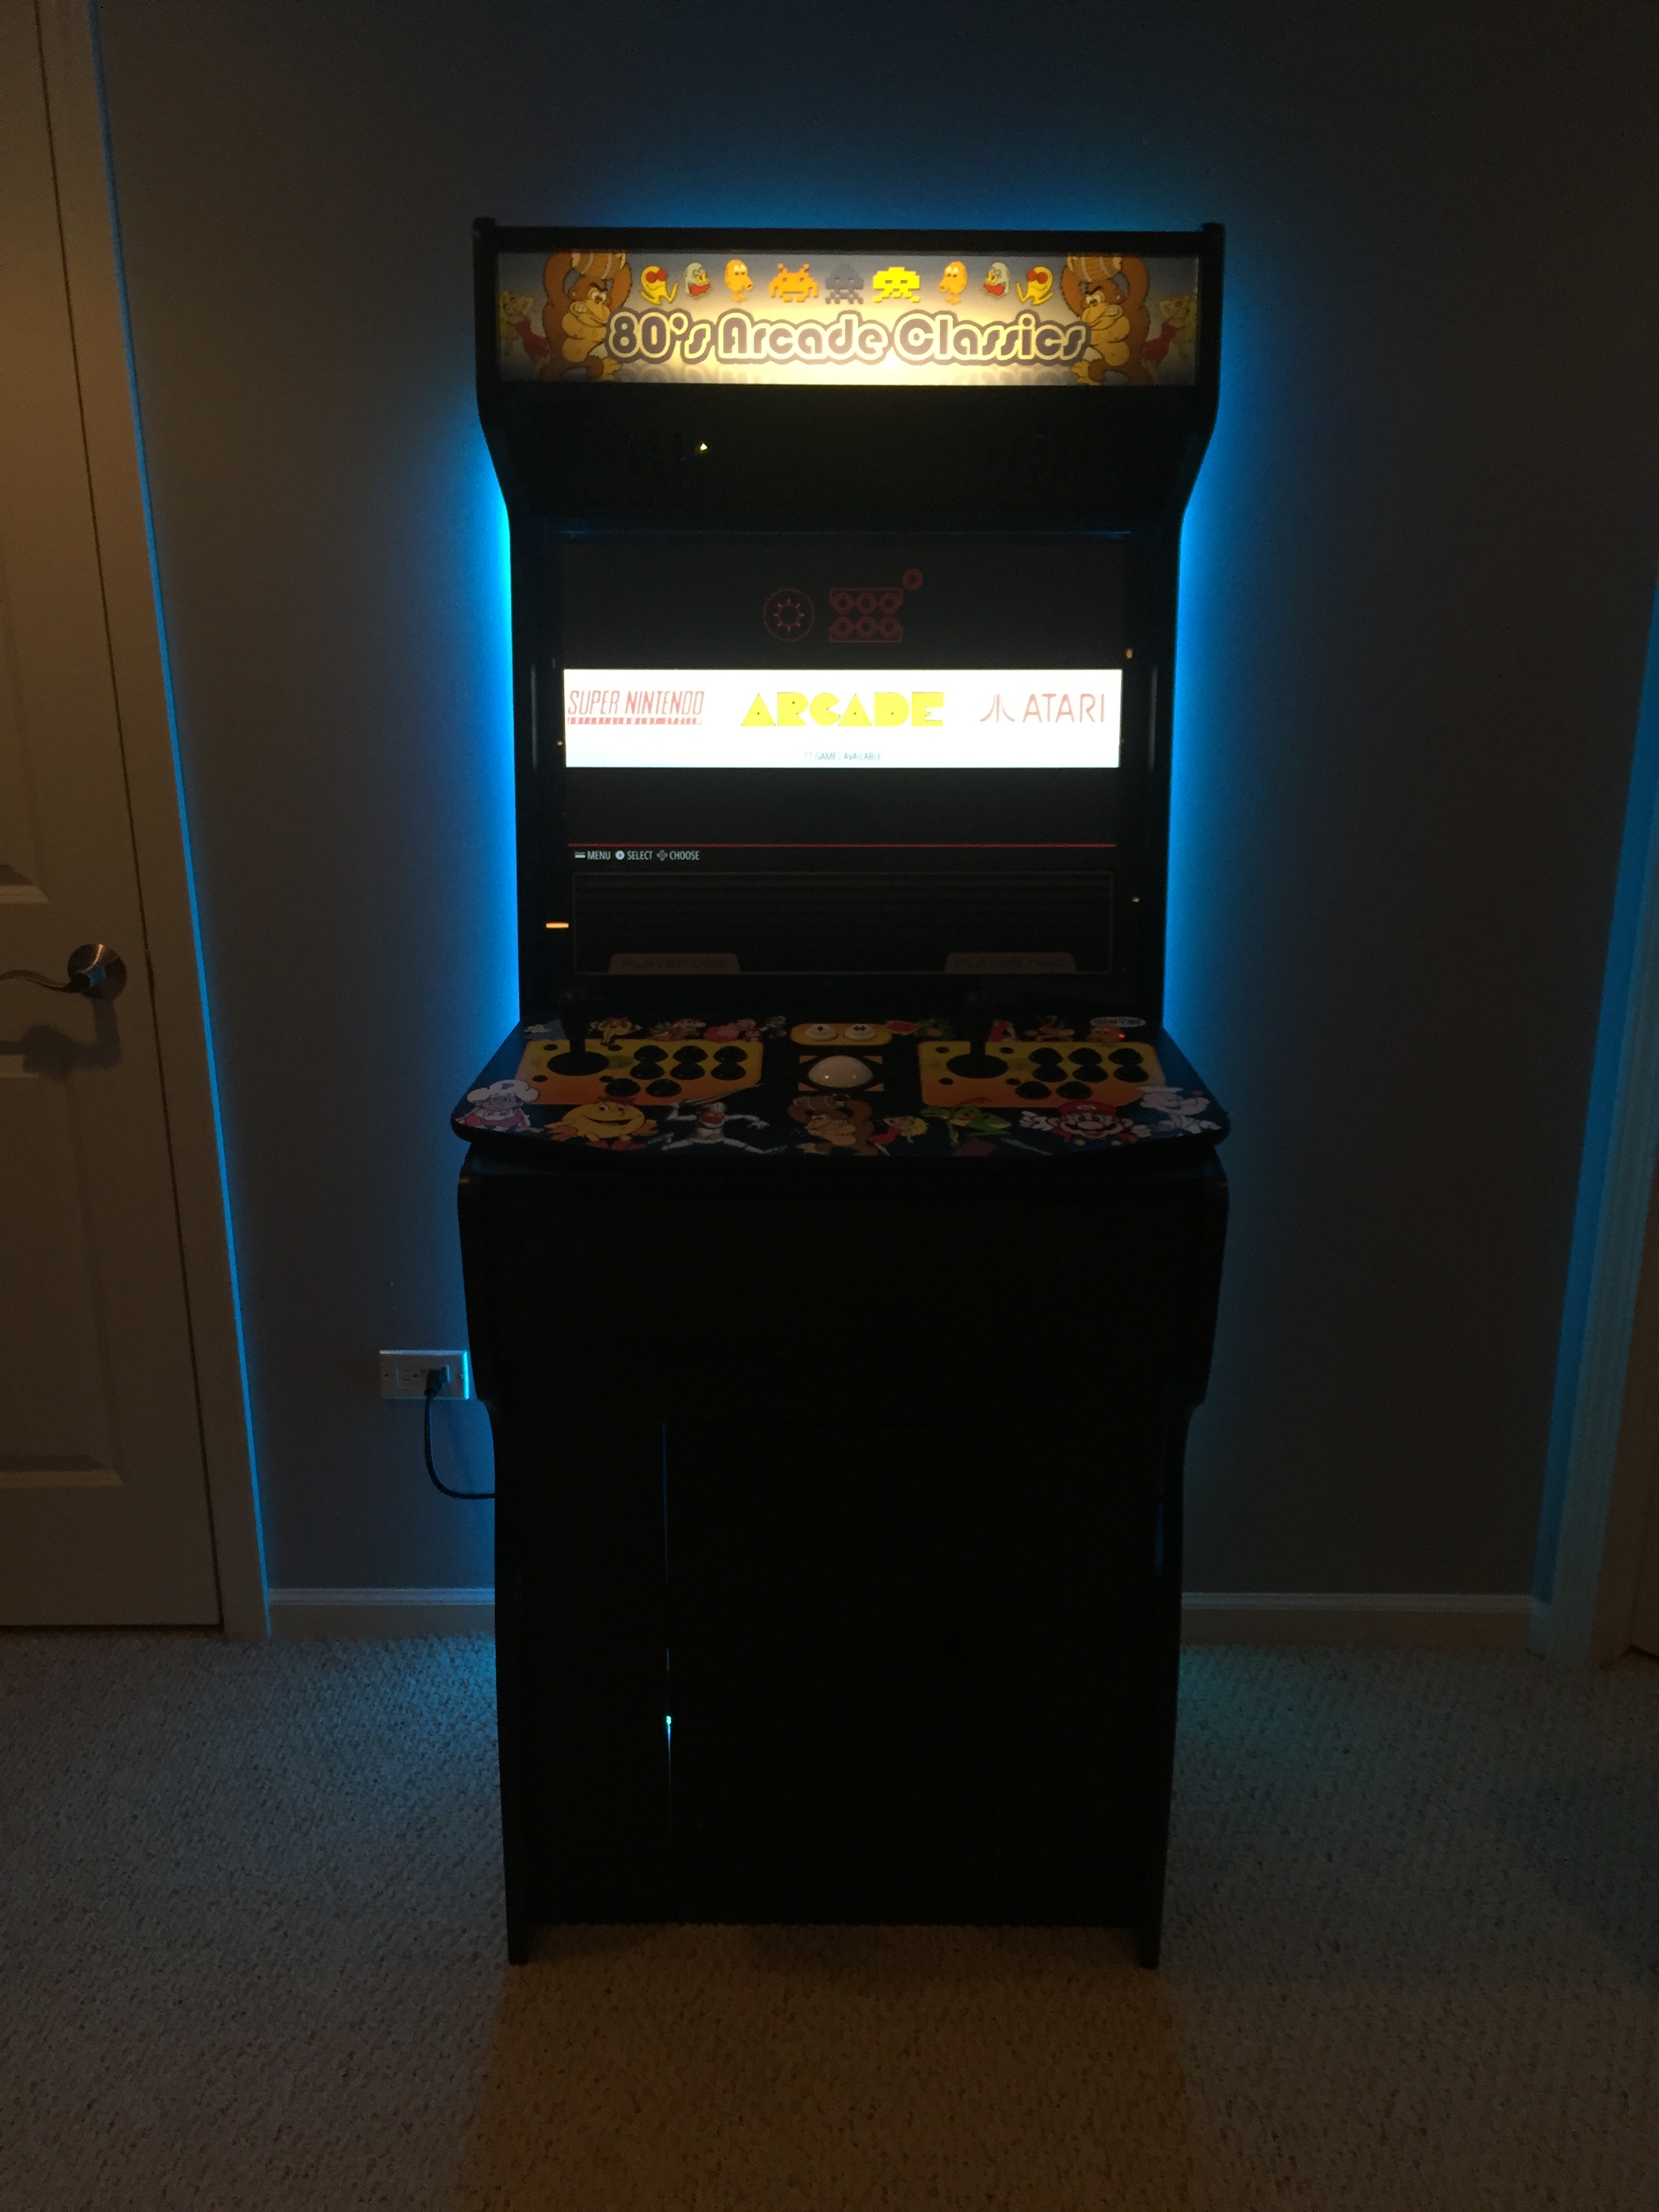
This was actually a buddy's idea, but I thought the addition of strip lights were a nice, if gaudy, addition:
Also, because I'm me, I had to add in a home automation component: the ability to remotely turn the unit on and off. This is practical as well as cool, as I might want to remotely log into the machine while I'm not home to play with configurations or add games.
So I ordered a Z-Wave outlet that can be turned on or off using whatever home automation software suits my fancy, as well as having Siri or Alexa do it. For kids already in the basement, they can press the button on the outlet itself, which controls the bottom receptacle:
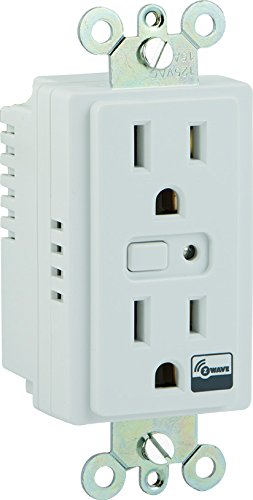
And, though entirely overkill, and because I still haven't found a better use for it, I rigged up my Amazon Dash Button to also toggle the receptacle:
It's slow, but it works.
ROMs, Glorious ROMs
Individual arcade games are referred to as "ROMs", and they are fairly easily available online. Archive.org amazingly has complete reference ROMSets of various versions available. You just have to do a little reading to determine how to launch certain ROMs with their corresponding emulators.
Retropie has different rom directories for different emulators, but for the arcade games, you can put them all in the "arcade" directory and tell Retropie on a case-by-case basis (using something called rumcommand) which emulator to use. This is time-consuming to set up, but it makes for a cleaner experience as there's simply one "Arcade" menu and the user doesn't have to hunt for their favorite games.
That's it for now. Until next time!
