In my last post, I talked about creating a dashboard to monitor some of my modest home server and network activity. While perusing some of my favorite Reddit boards (/r/homelab, /r/homeserver, and especially /r/cableporn), I thought my "server room" could use an upgrade, if for only aesthetic reasons. For a refresher, here's what it looked like:

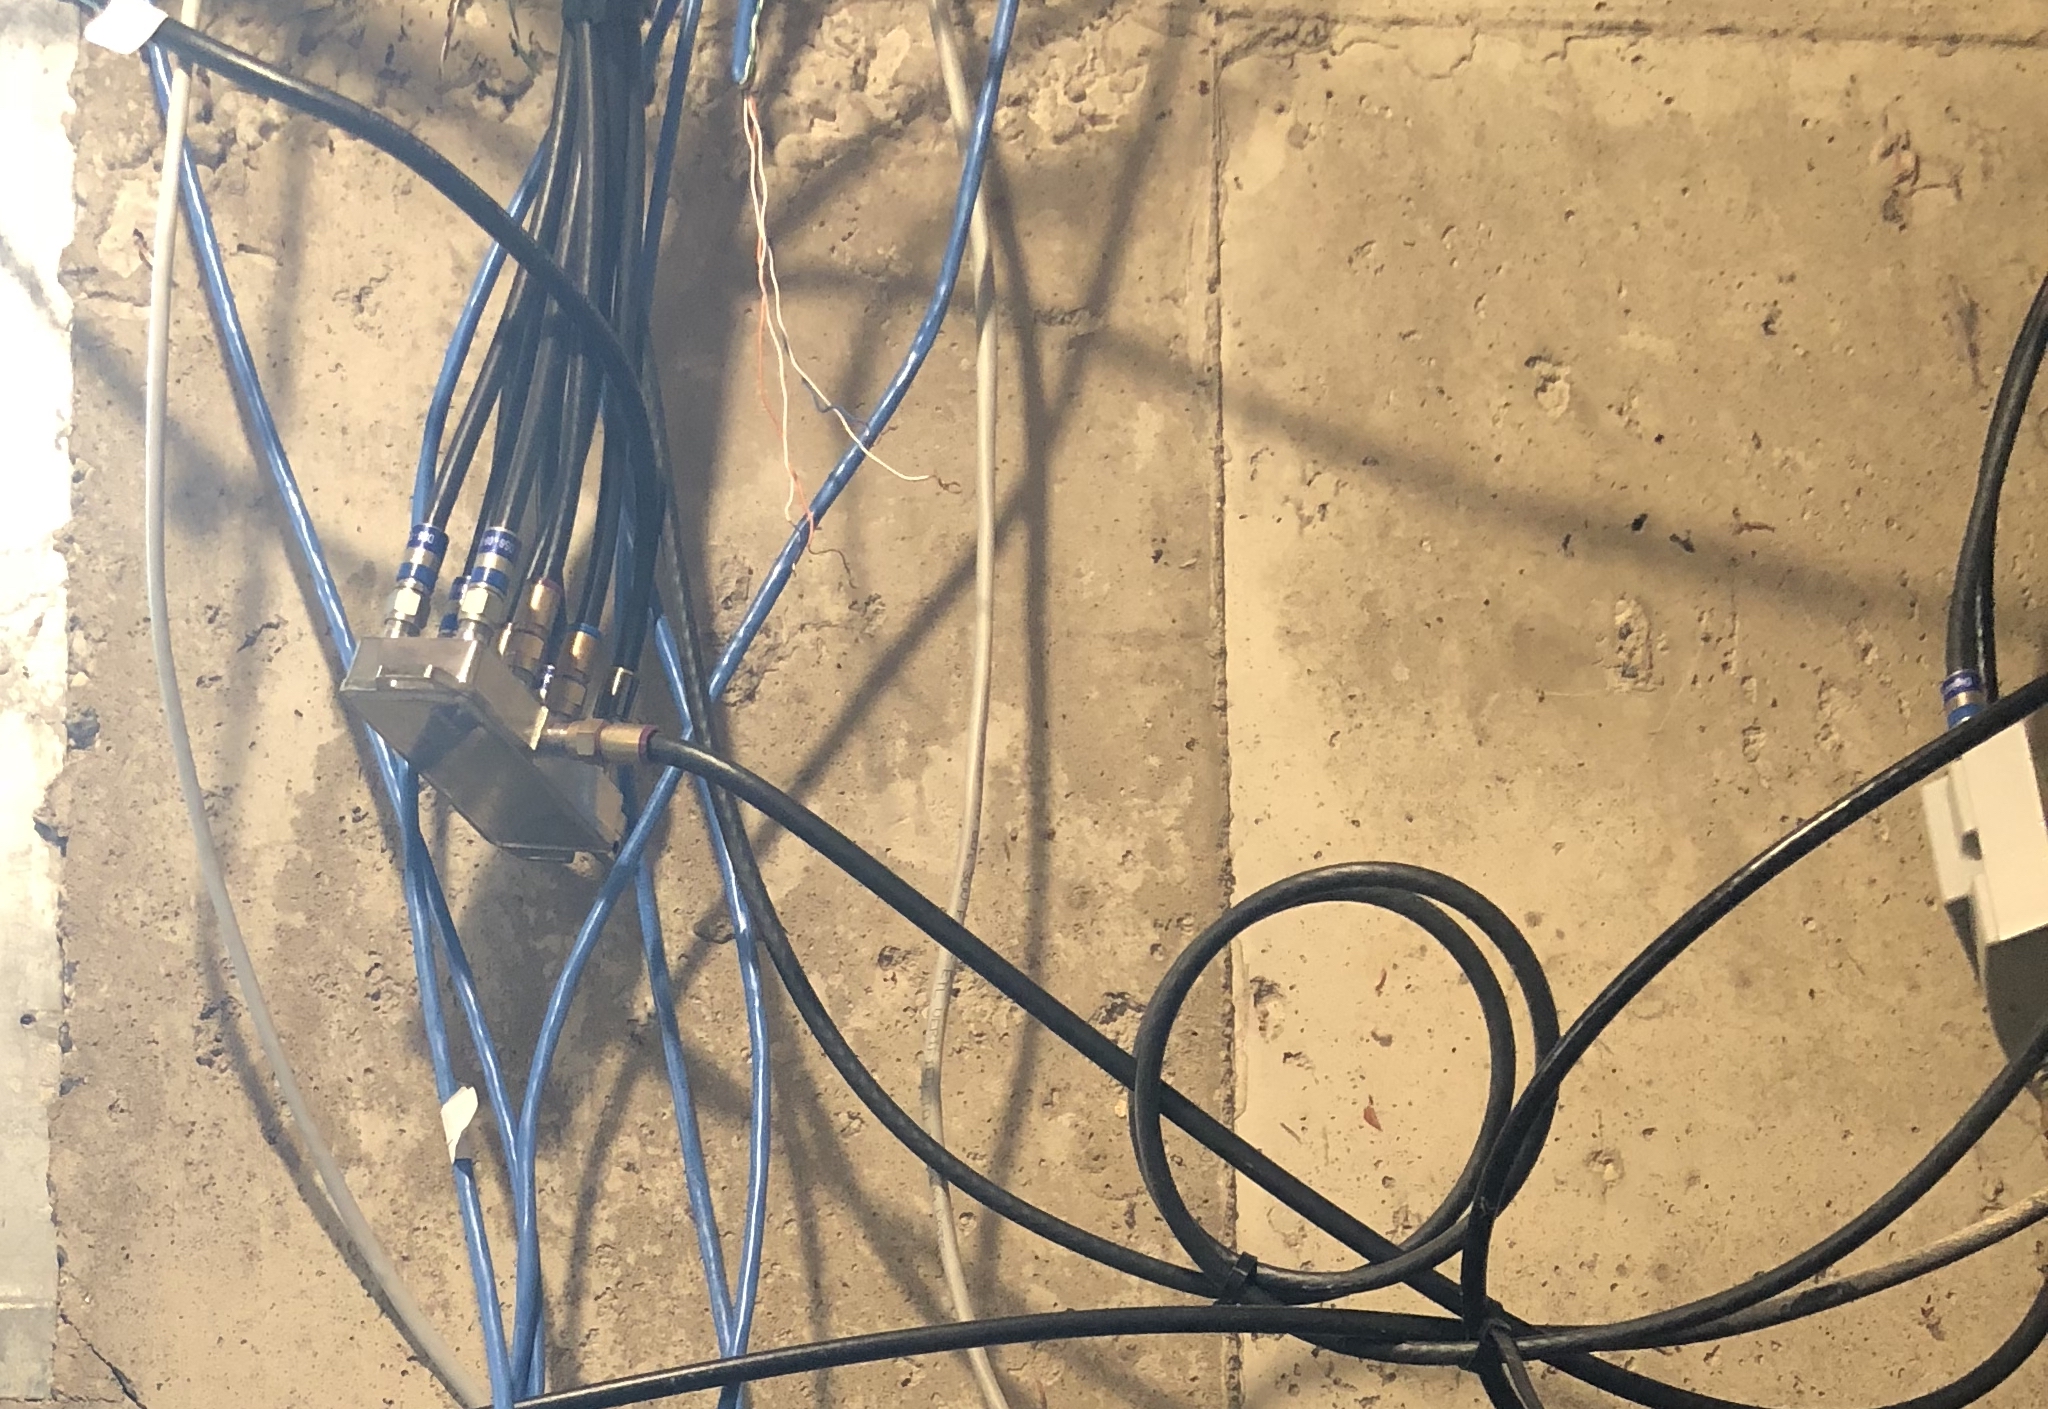
This picture doesn't do justice to the mess of cabling that runs along the ceiling feeding the switches in the top left corner. All of the phone jacks in the house run Cat-5 cables behind them which terminate in this room, to the right of the image, into a mess. I had converted about half of these jacks into proper RJ45 (ethernet) jacks and plugged them into the switches you see in the image, but it was all very messy. Here's a taste of some of it, along with the RG-6 cables that feed various spots in the house:
I realized I could do better, and have some fun in the process. What I decided to do was get a small 8U wall-mounted rack, install a properly patch panel for all those in-wall lines to terminate into, and rack mount a proper switch plus anything else cool I could think of.
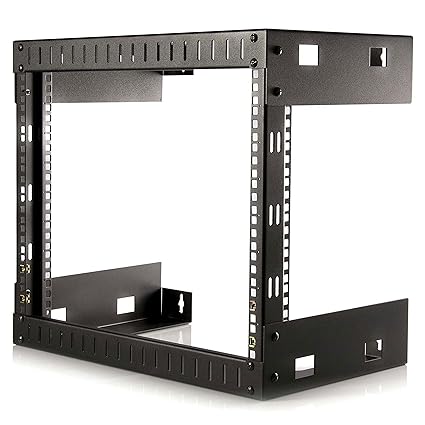
I went with this fairly simple unit, the StarTech RK8112WALLO:
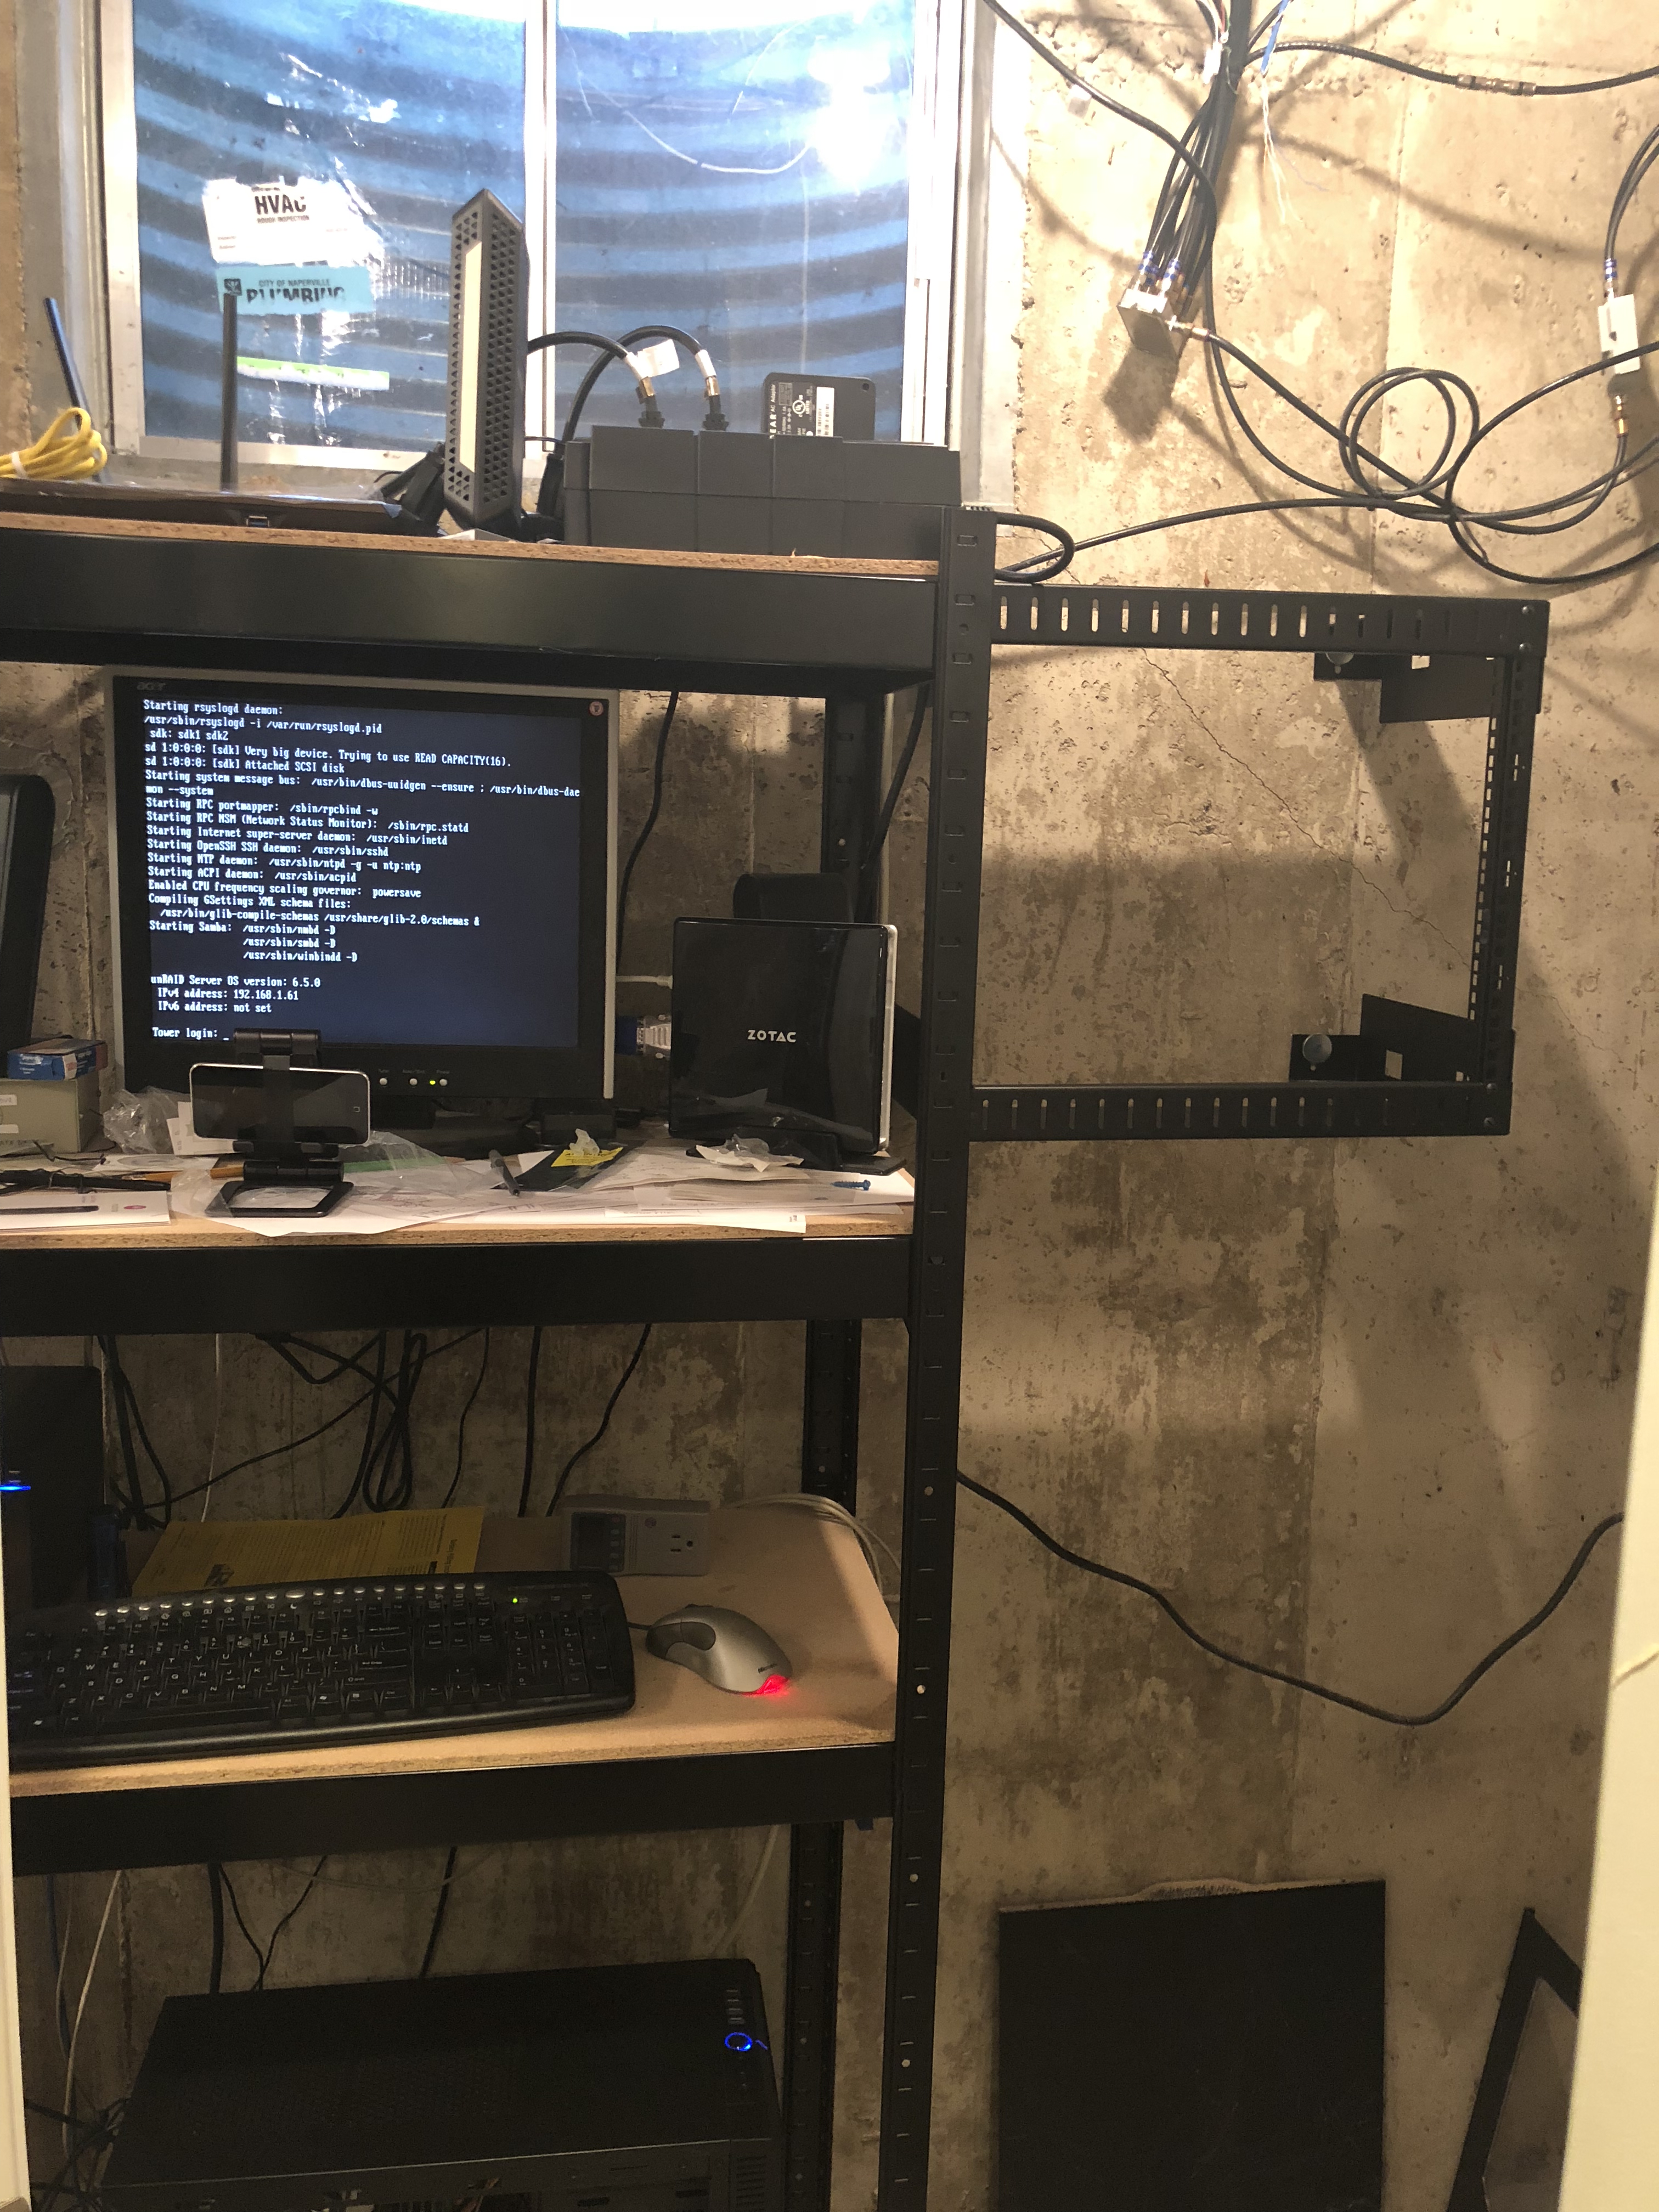
Once I acquired a drill bit that I could use to drill into the cement foundation, it mounted nicely next to my existing garage-style rack:
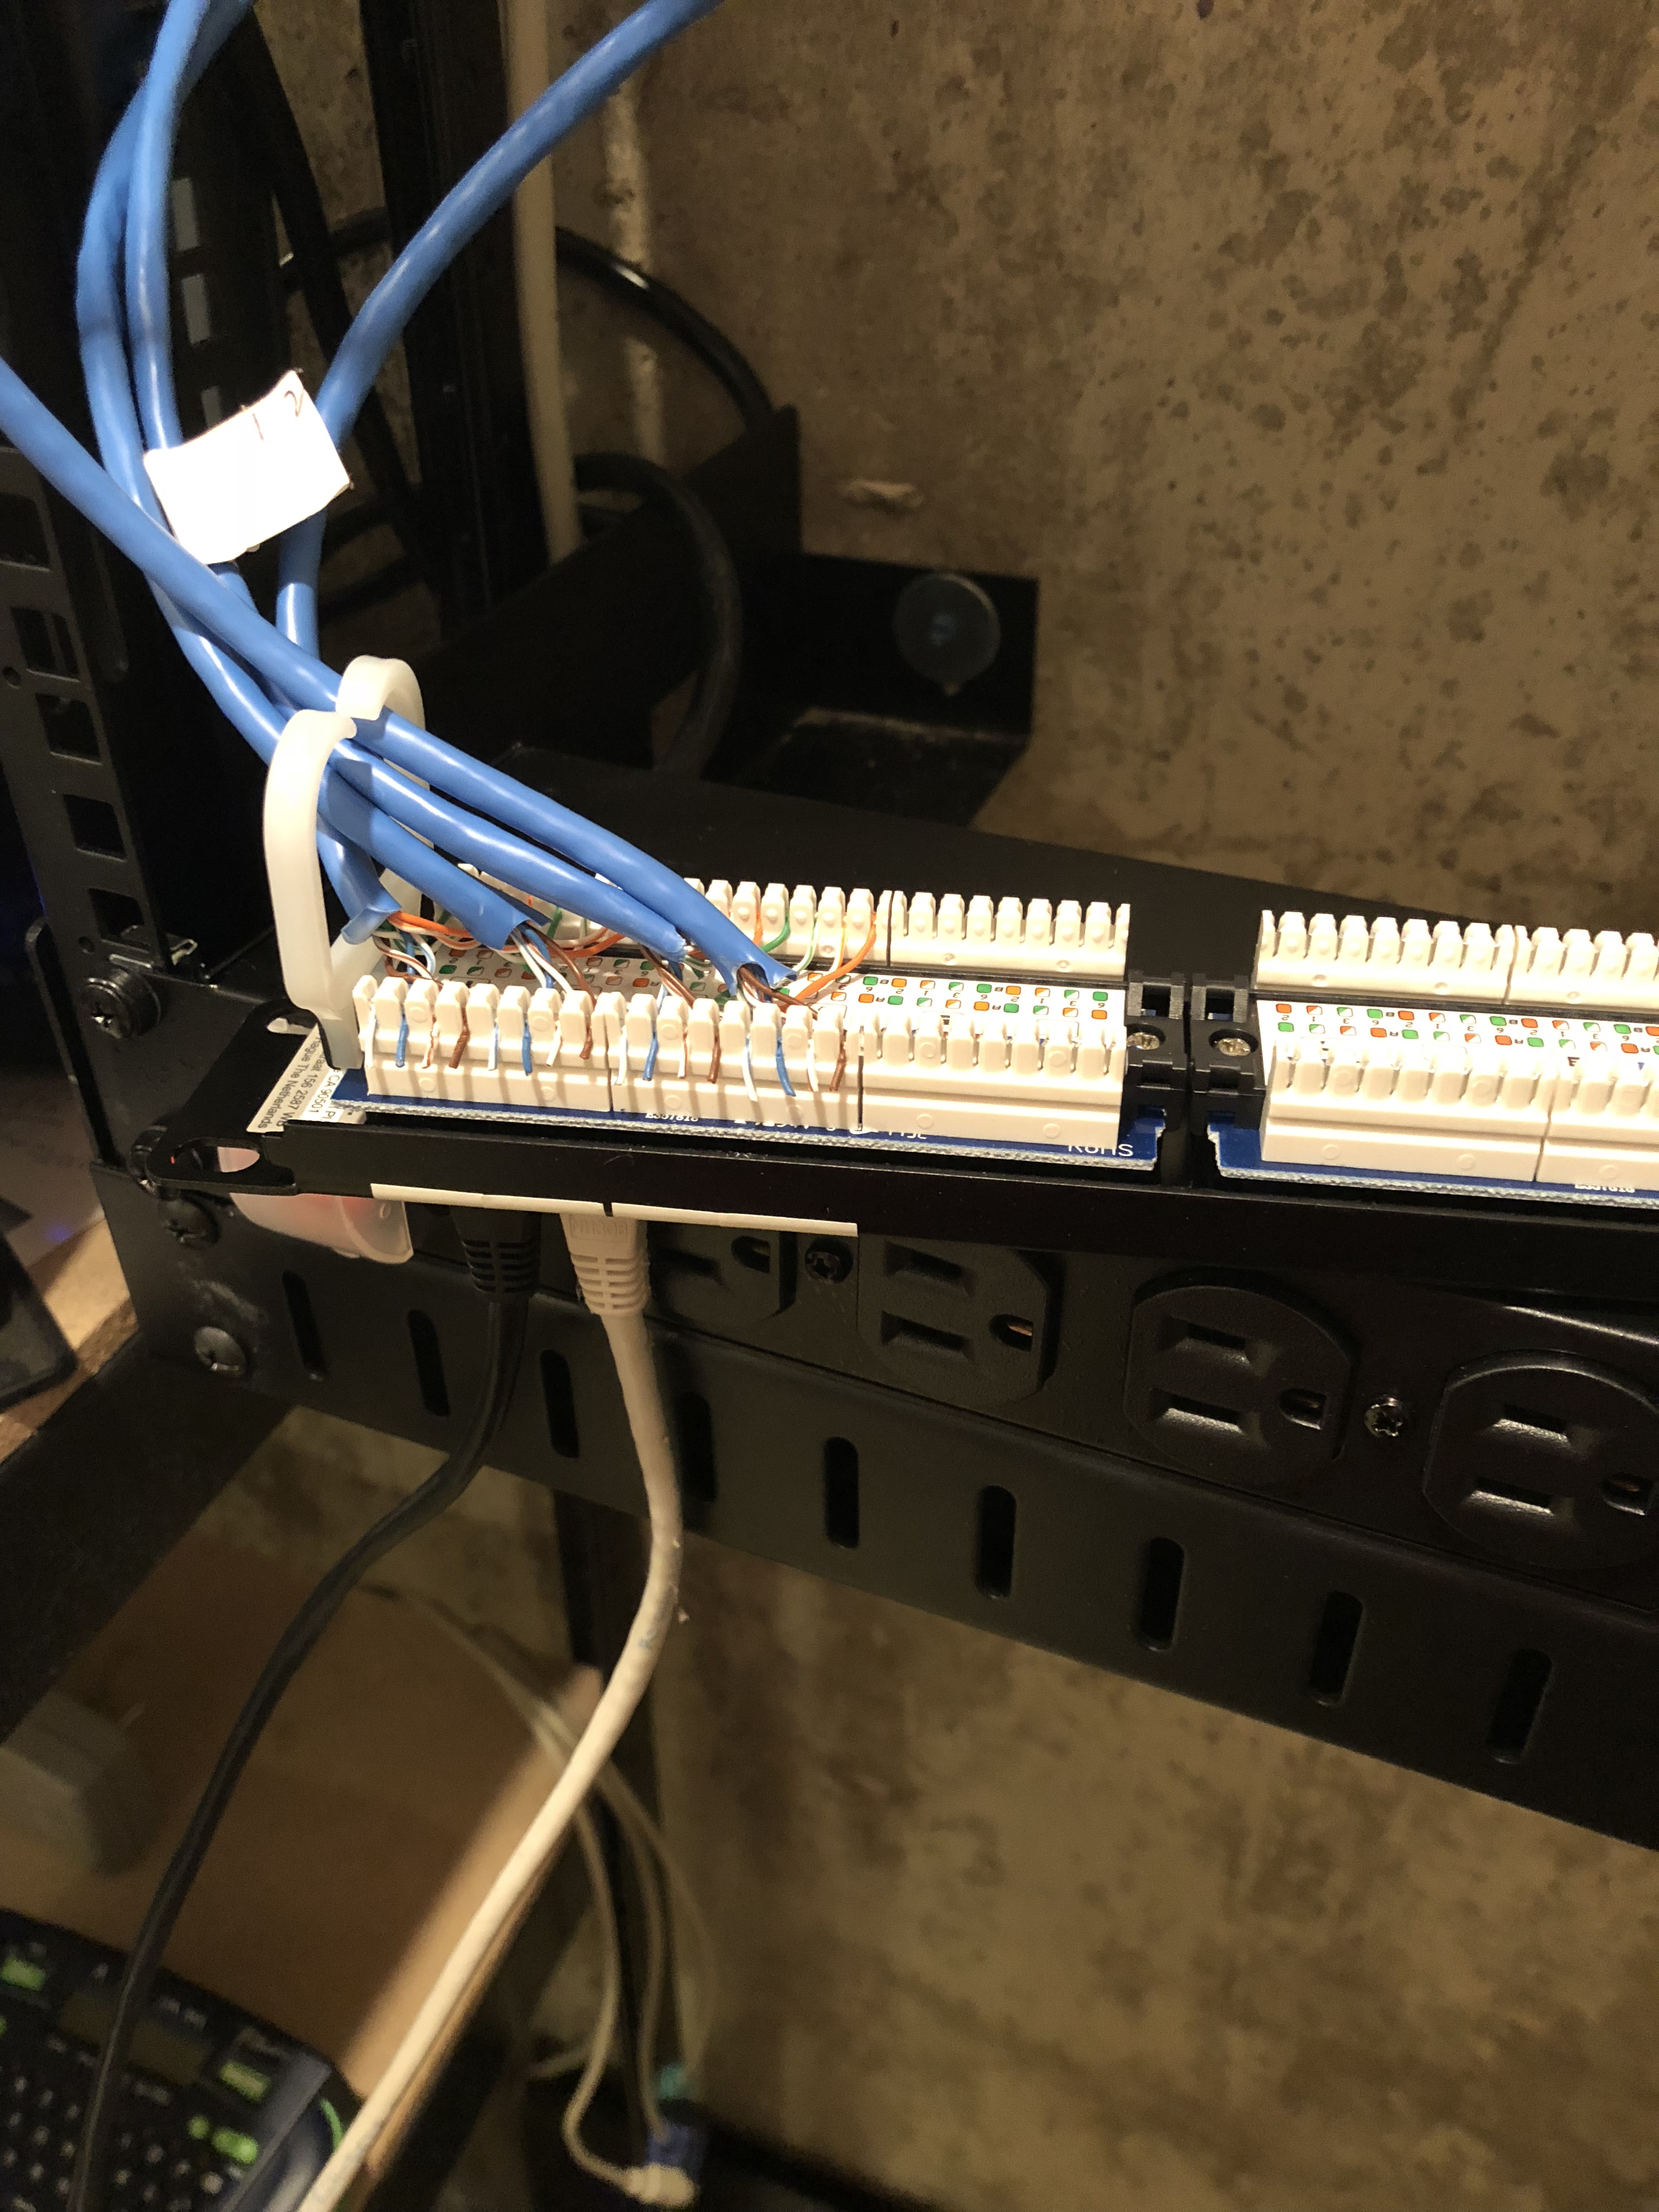
Next, I needed wire up the patch panel. My intention was to make this rack and the panel a permanent part of the house, so all that in-wall wiring would always end up in this panel and could be re-networked as I or future owners would see fit. As it was, when I moved in, all the lines were simply twisted together in the crudest possible fashion. Here's how it looked mid-way through the process:
Mild OCD kept me from hand-writing the jack locations, so I had to break out my trusty label-maker:
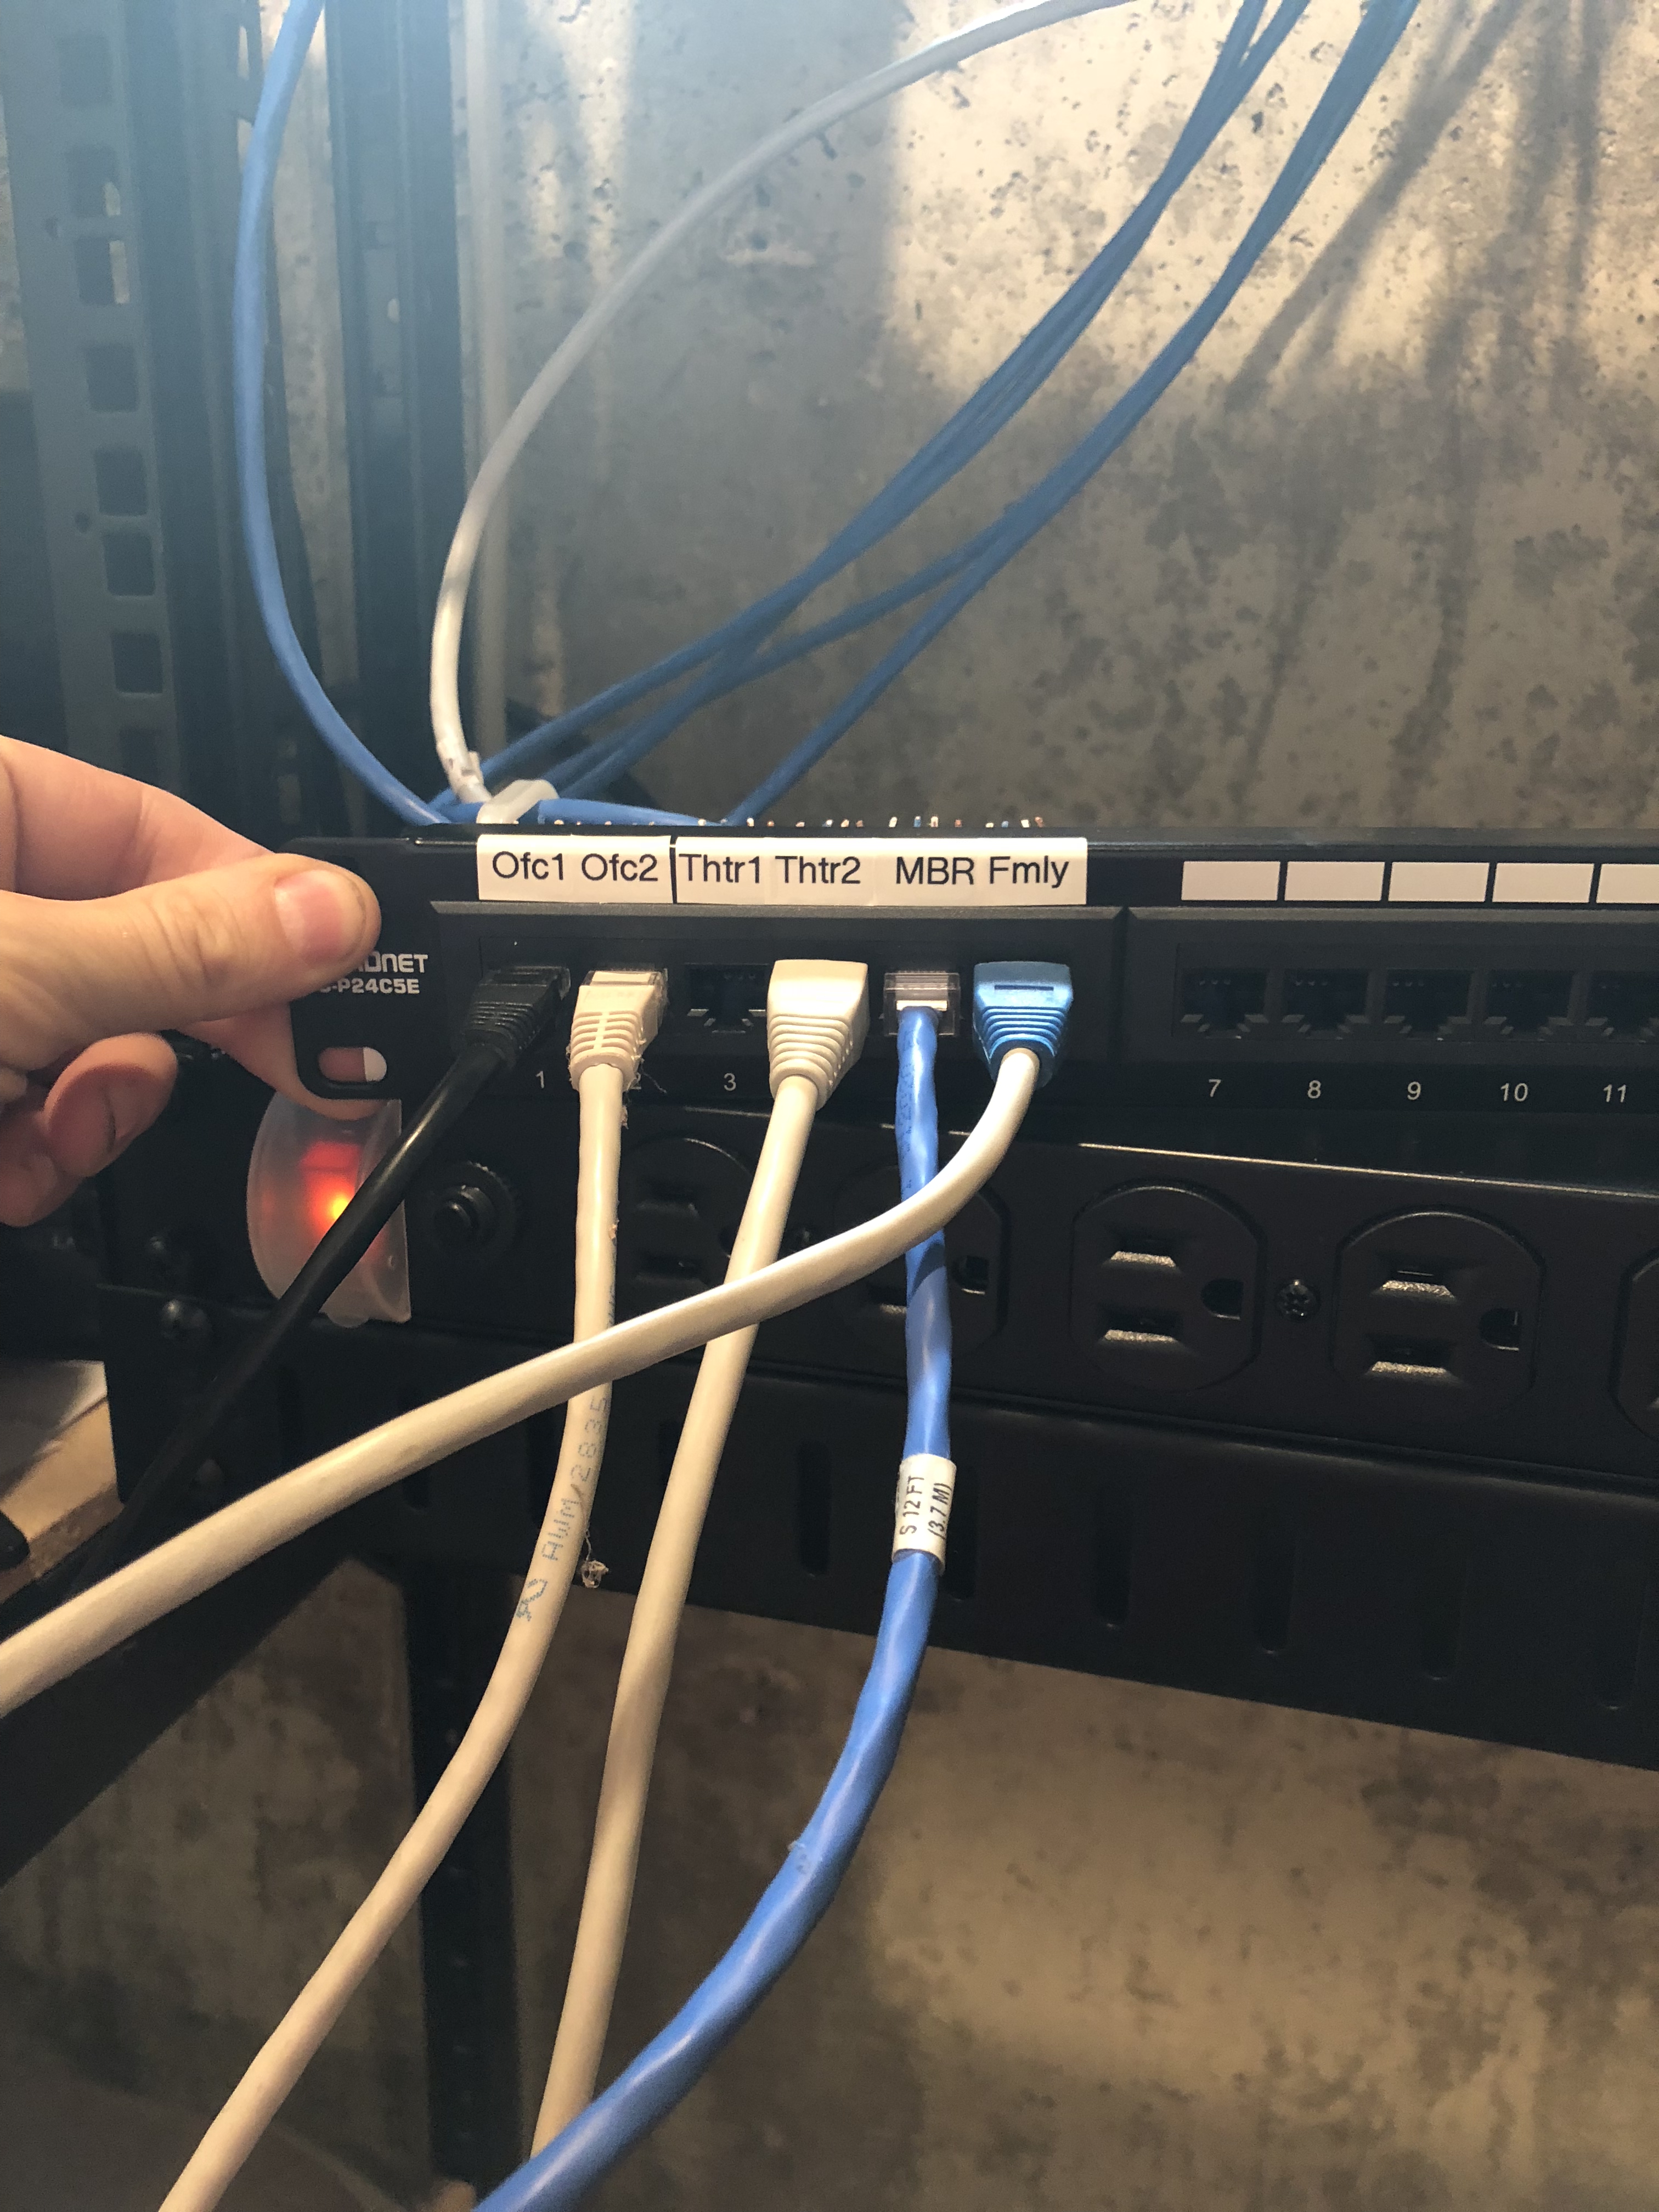
Once I got going on this process, I realized that for completeness sake, I wanted to convert the remaining jacks in the house to proper network jacks. Basically, there were three bedrooms: the kids' rooms, plus the guest room that had to be converted, like so:
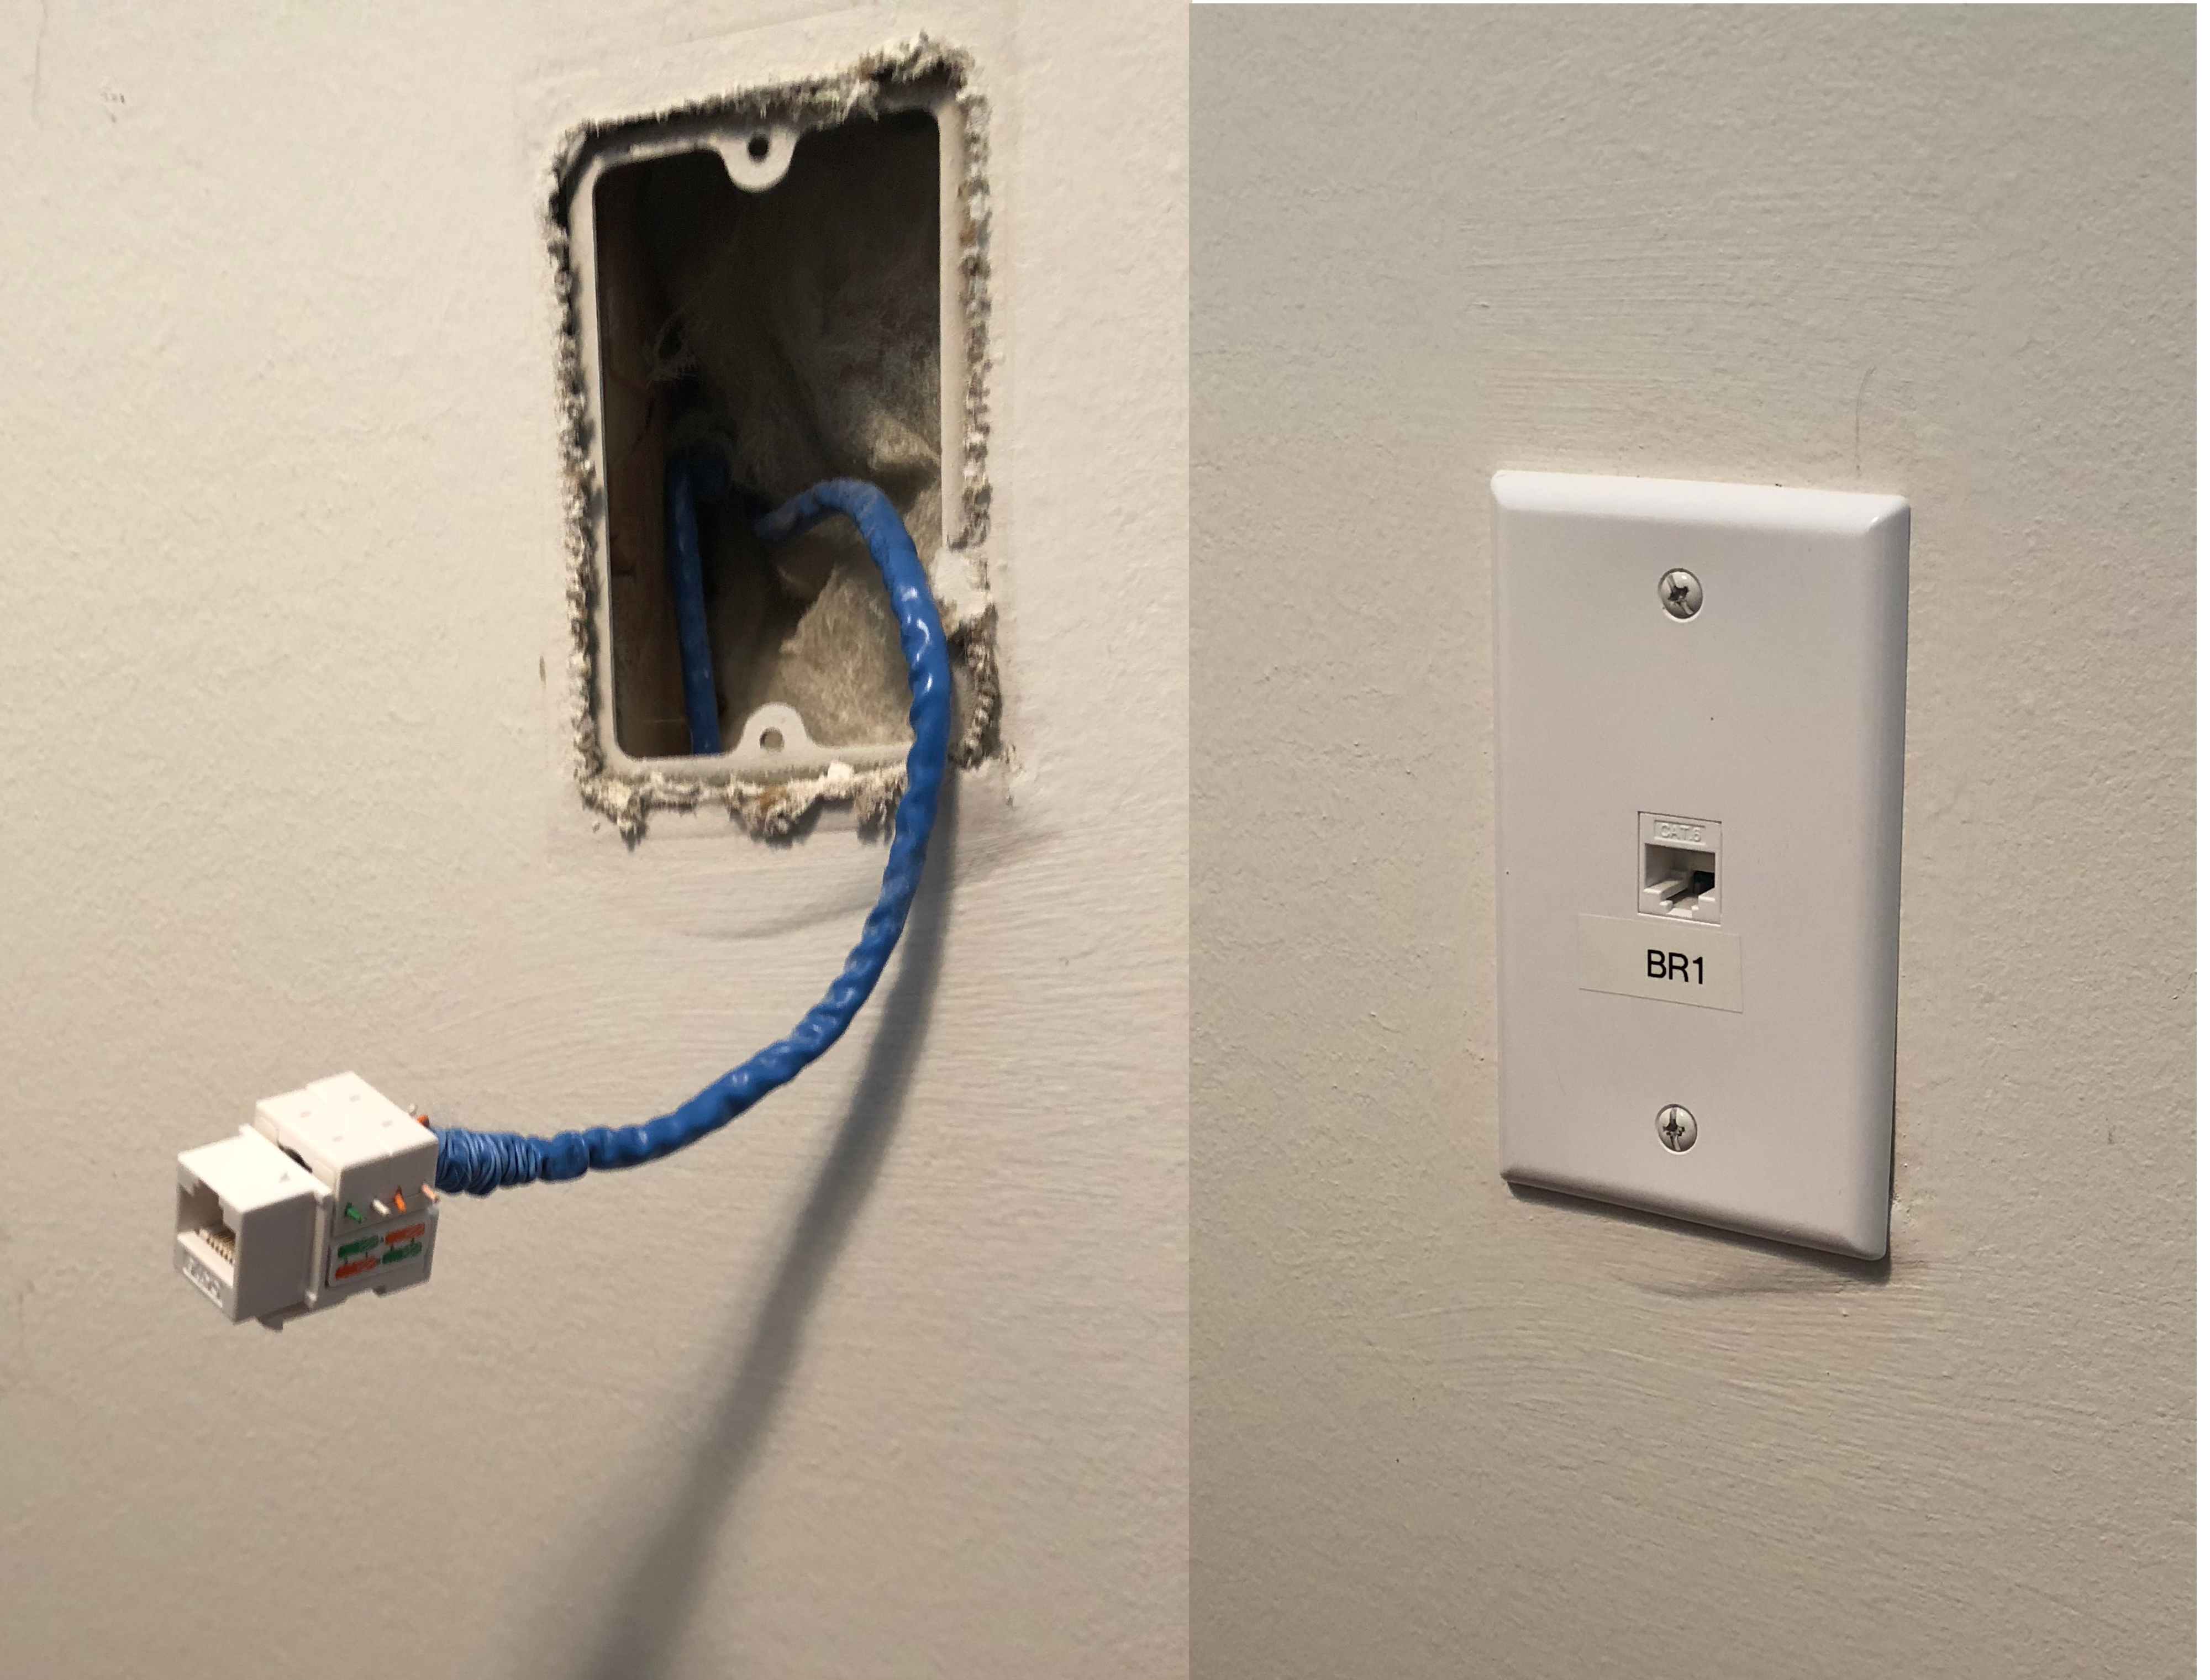
This label would then match up to one on the patch panel.
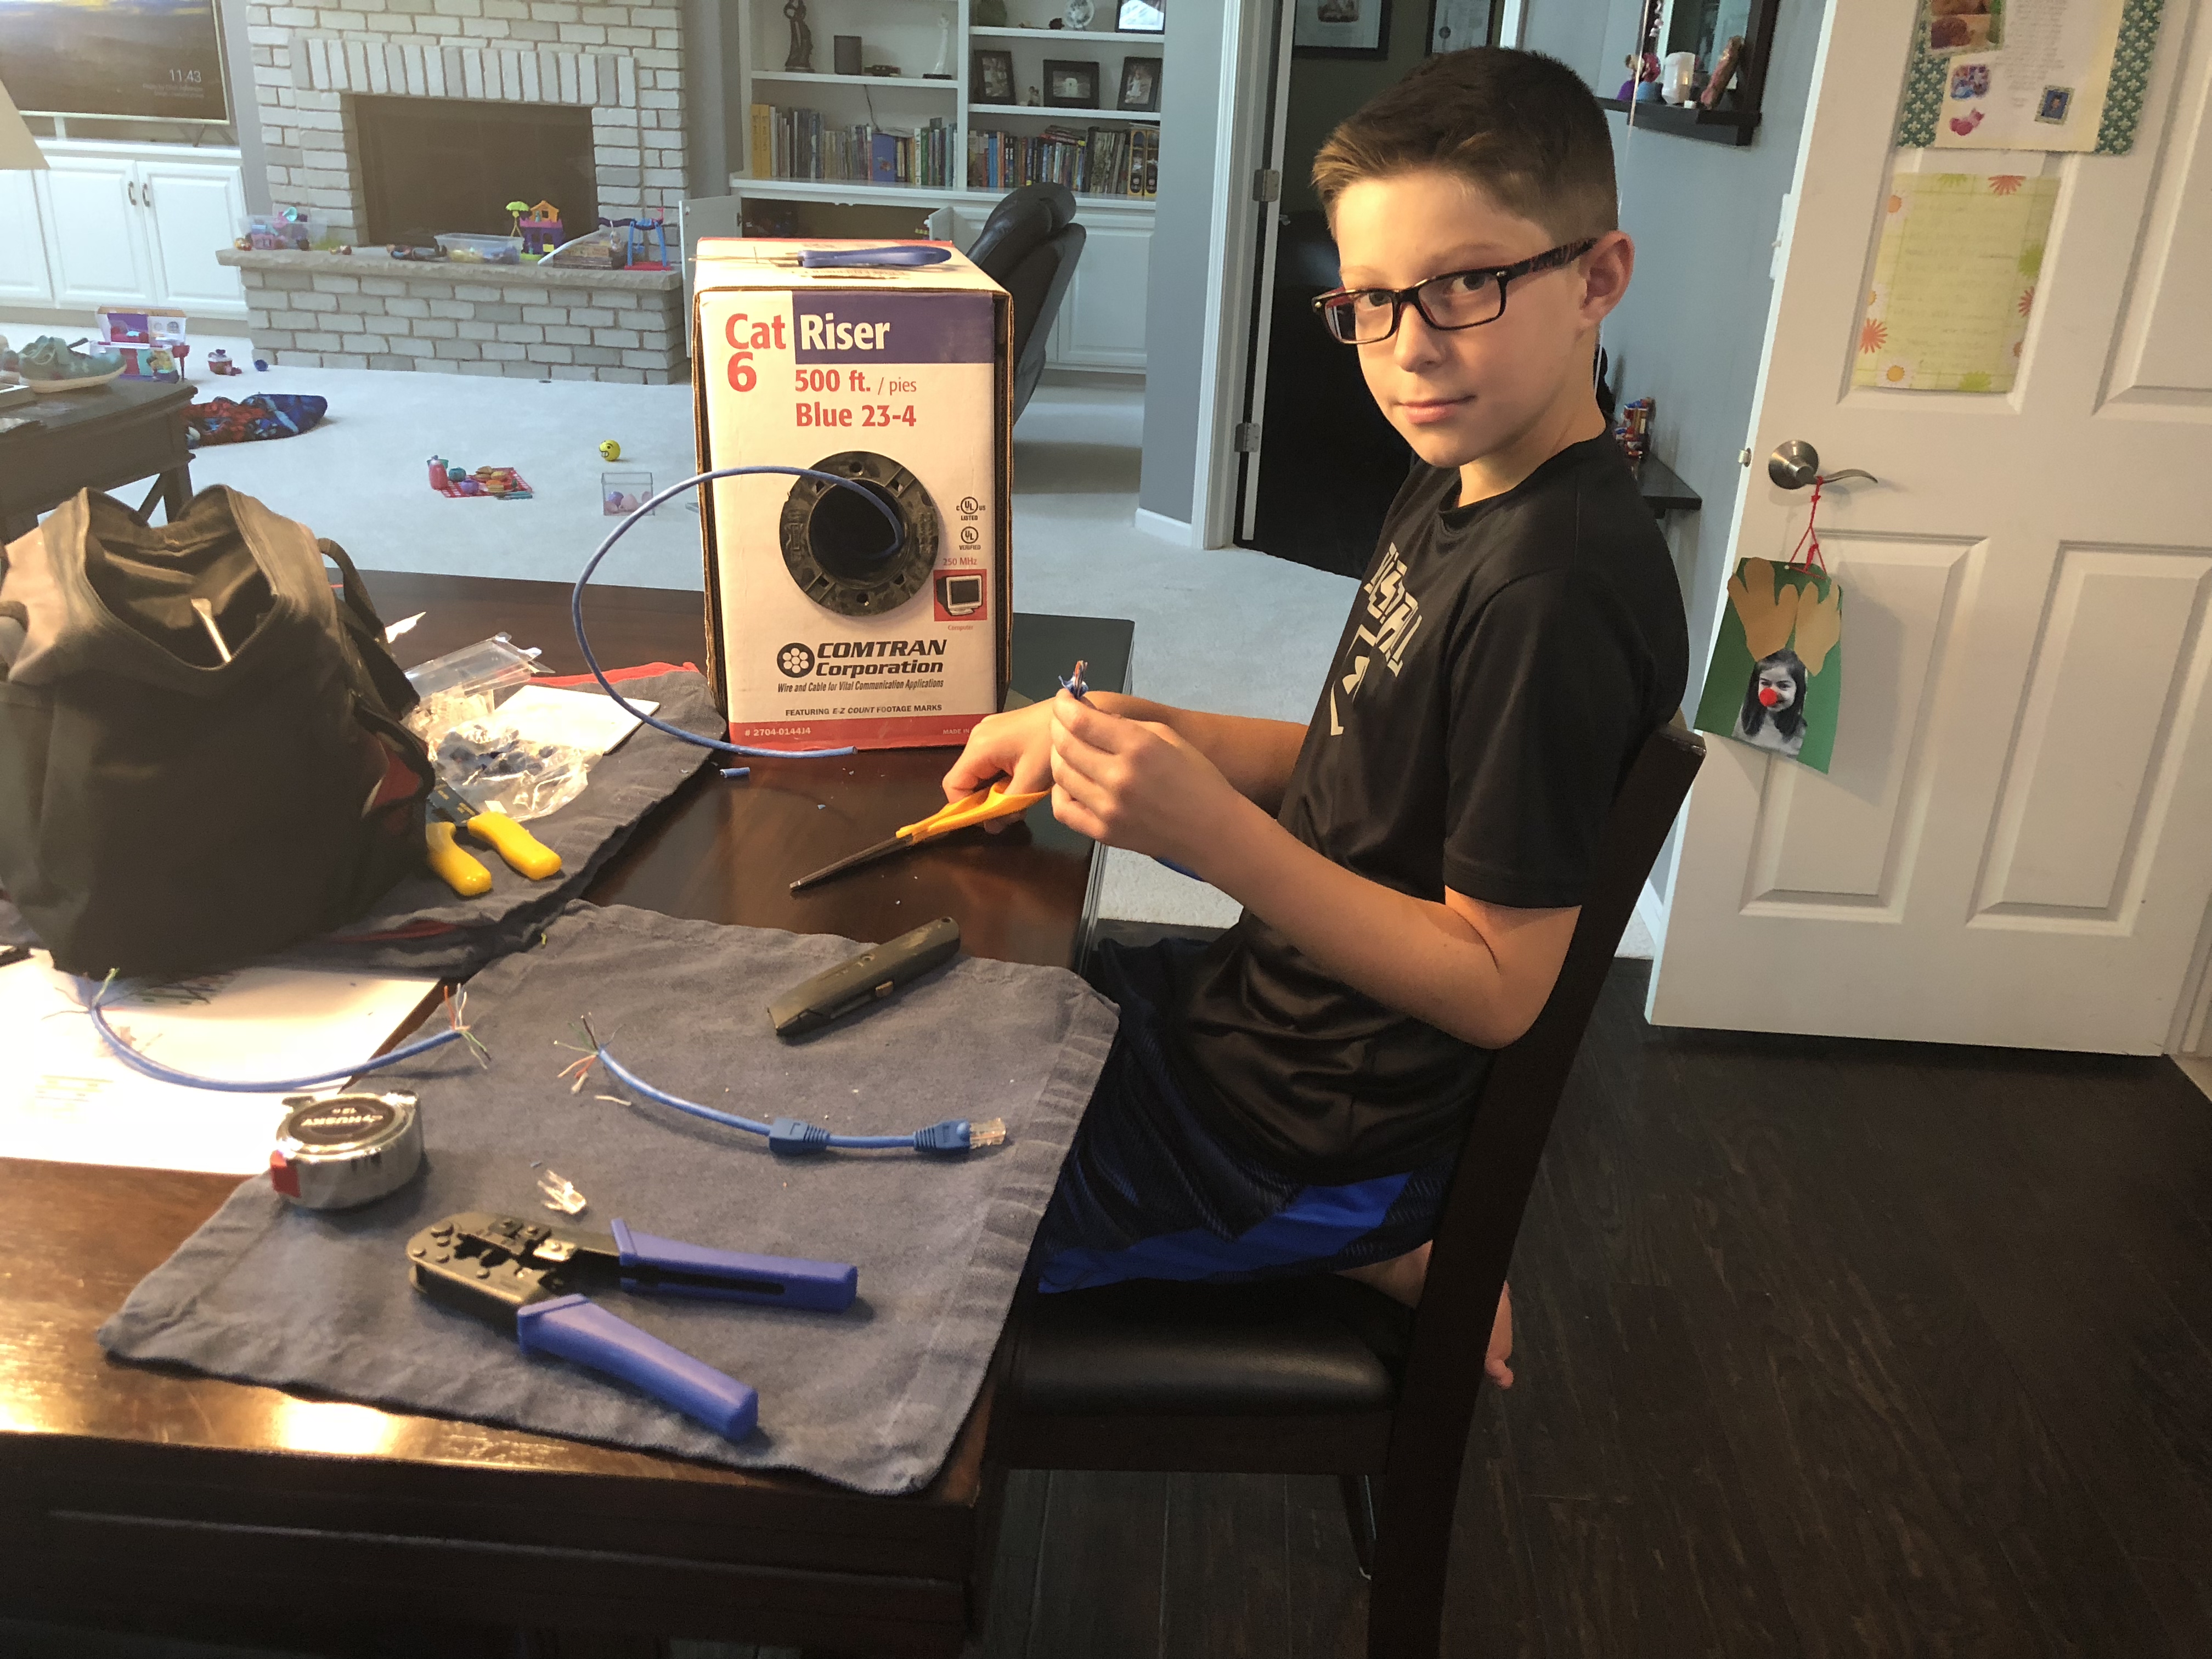
Perhaps the most painstaking part of all of this was cutting the small patch cables that would go from the panel to the switch below. Luckily, I enlisted a little help:
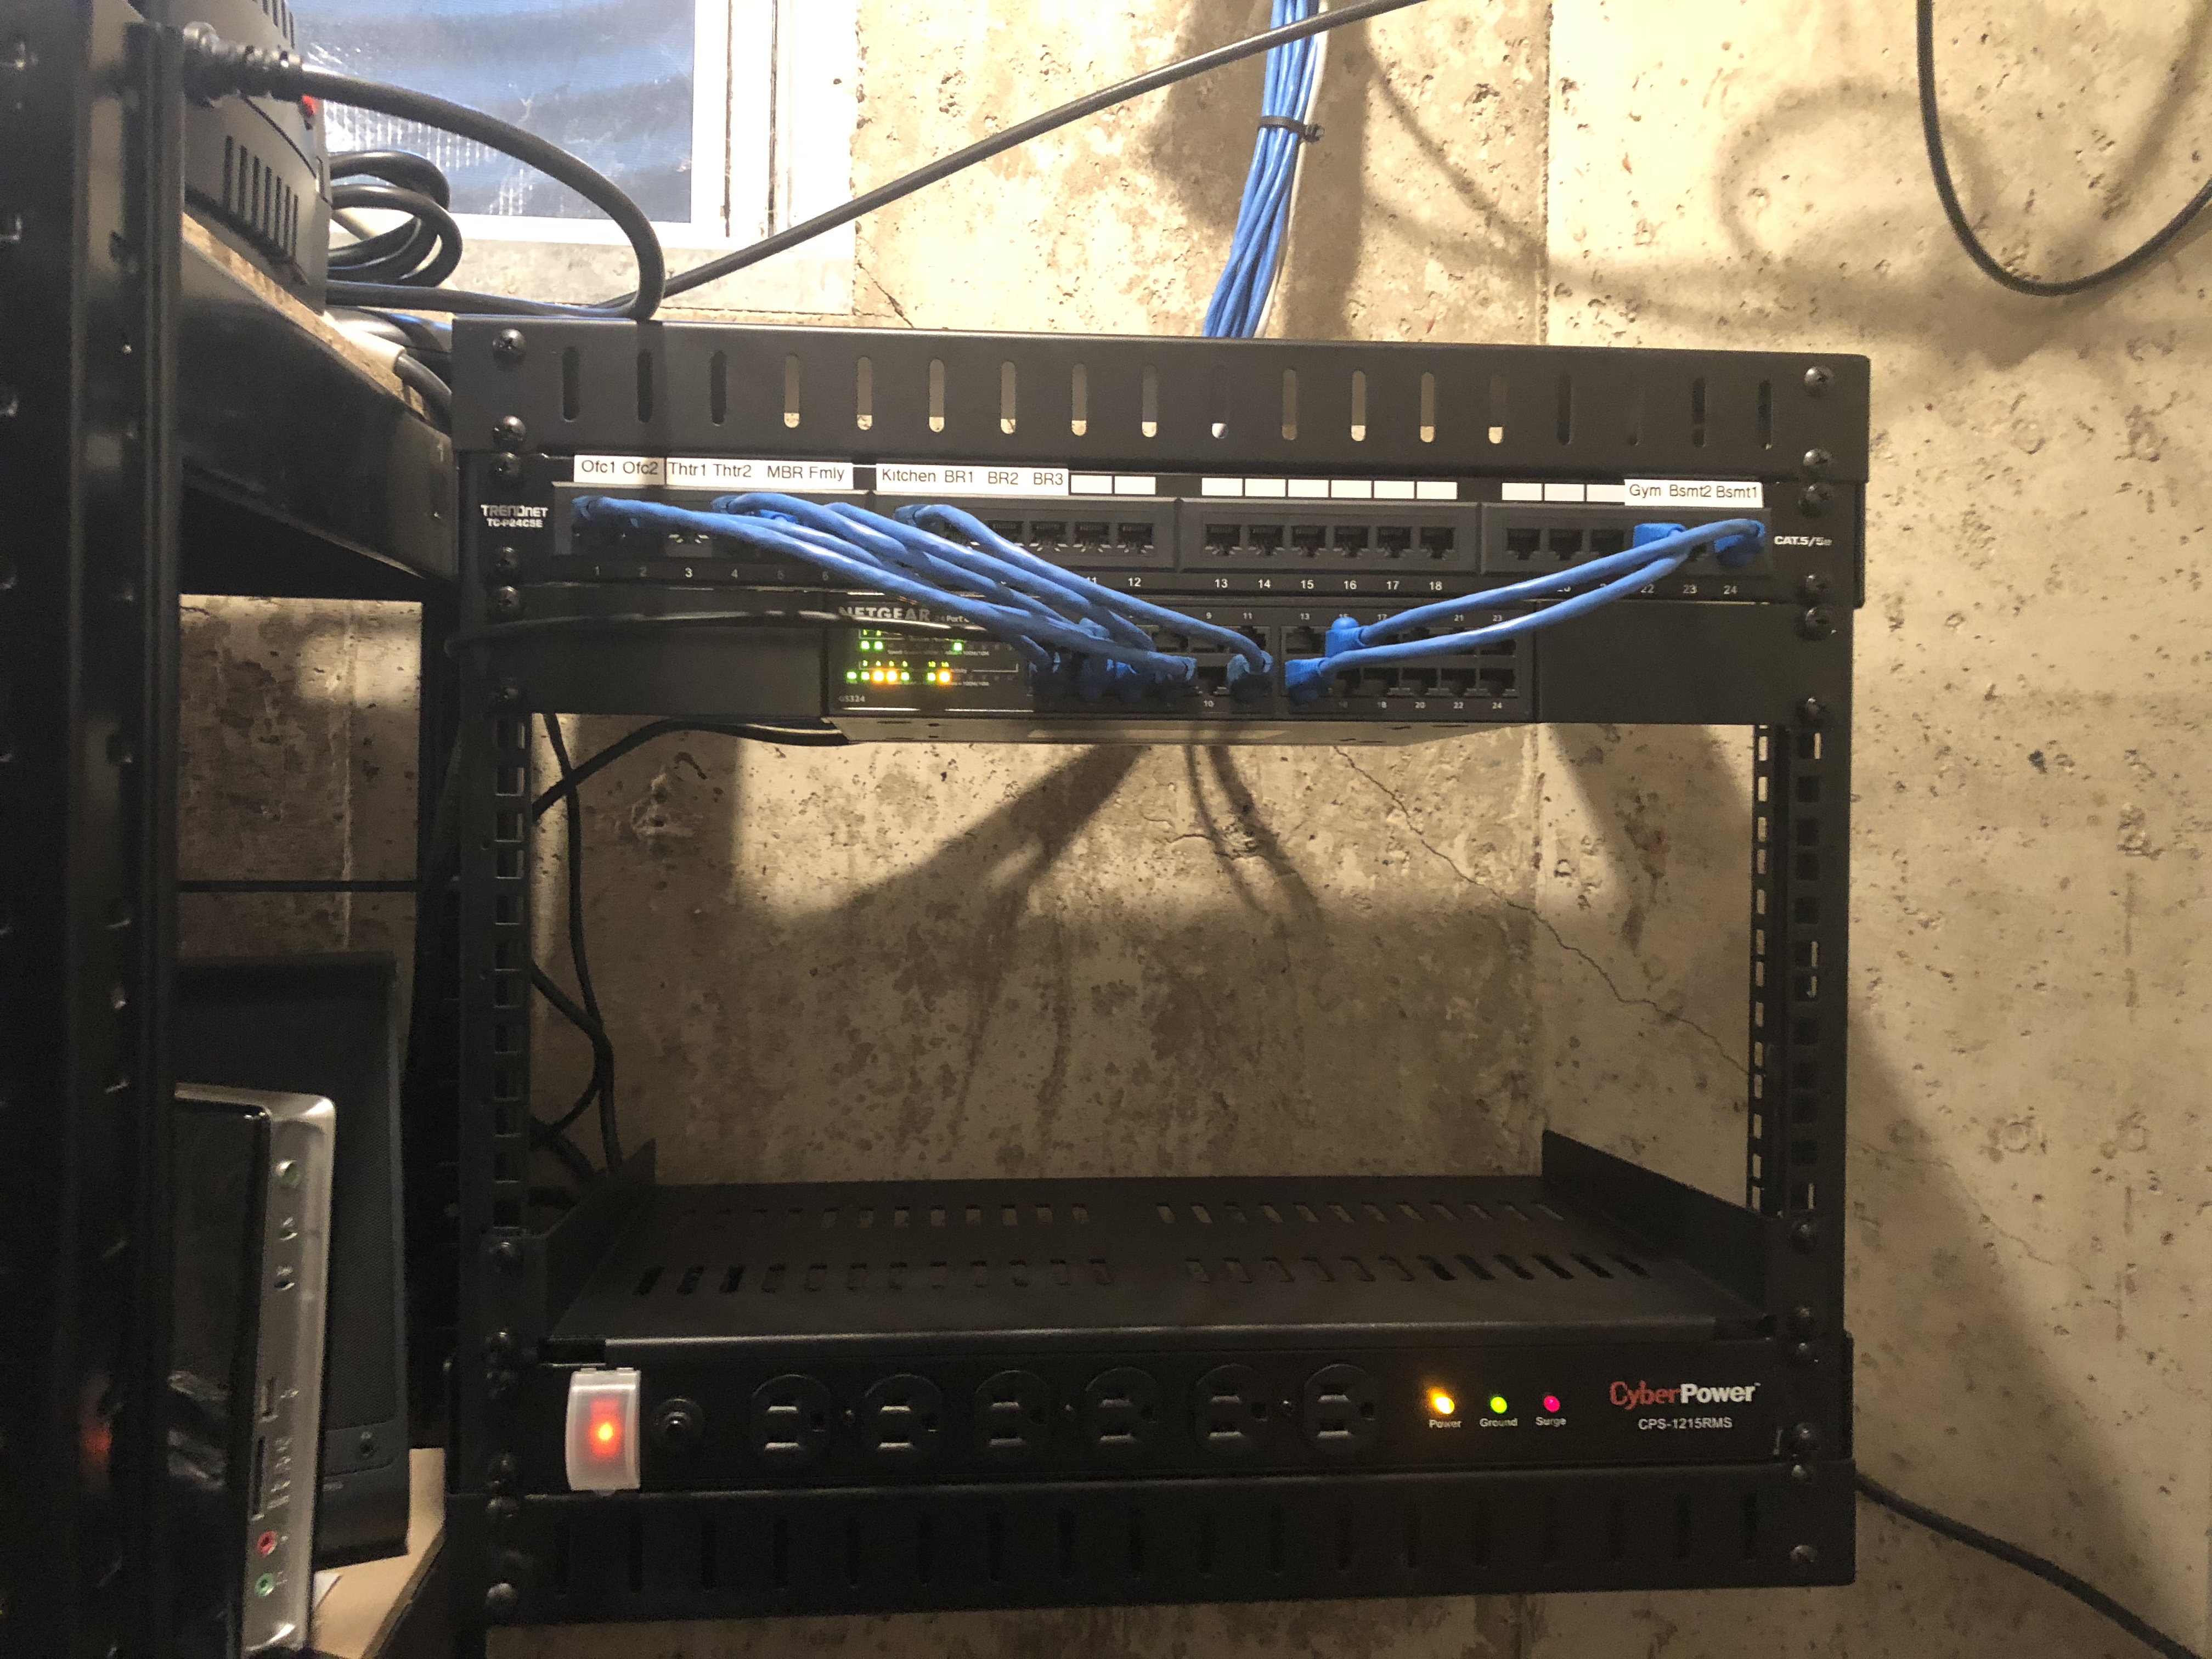
When all was racked and wired up, this was the nearly-finished product:
The last bit I wanted to accomplish with this project was to relocate the cable modem and router to this setup. Unfortunately, the modem is designed to stand upright and as such was too tall for the shelf in the rack. After fidgeting for 15 minutes and realizing I didn't have a Torx driver small enough to remove the base stand on the modem, I improvised a bit by screwing some rubber grommets into the ventilation holes of the modem like so:
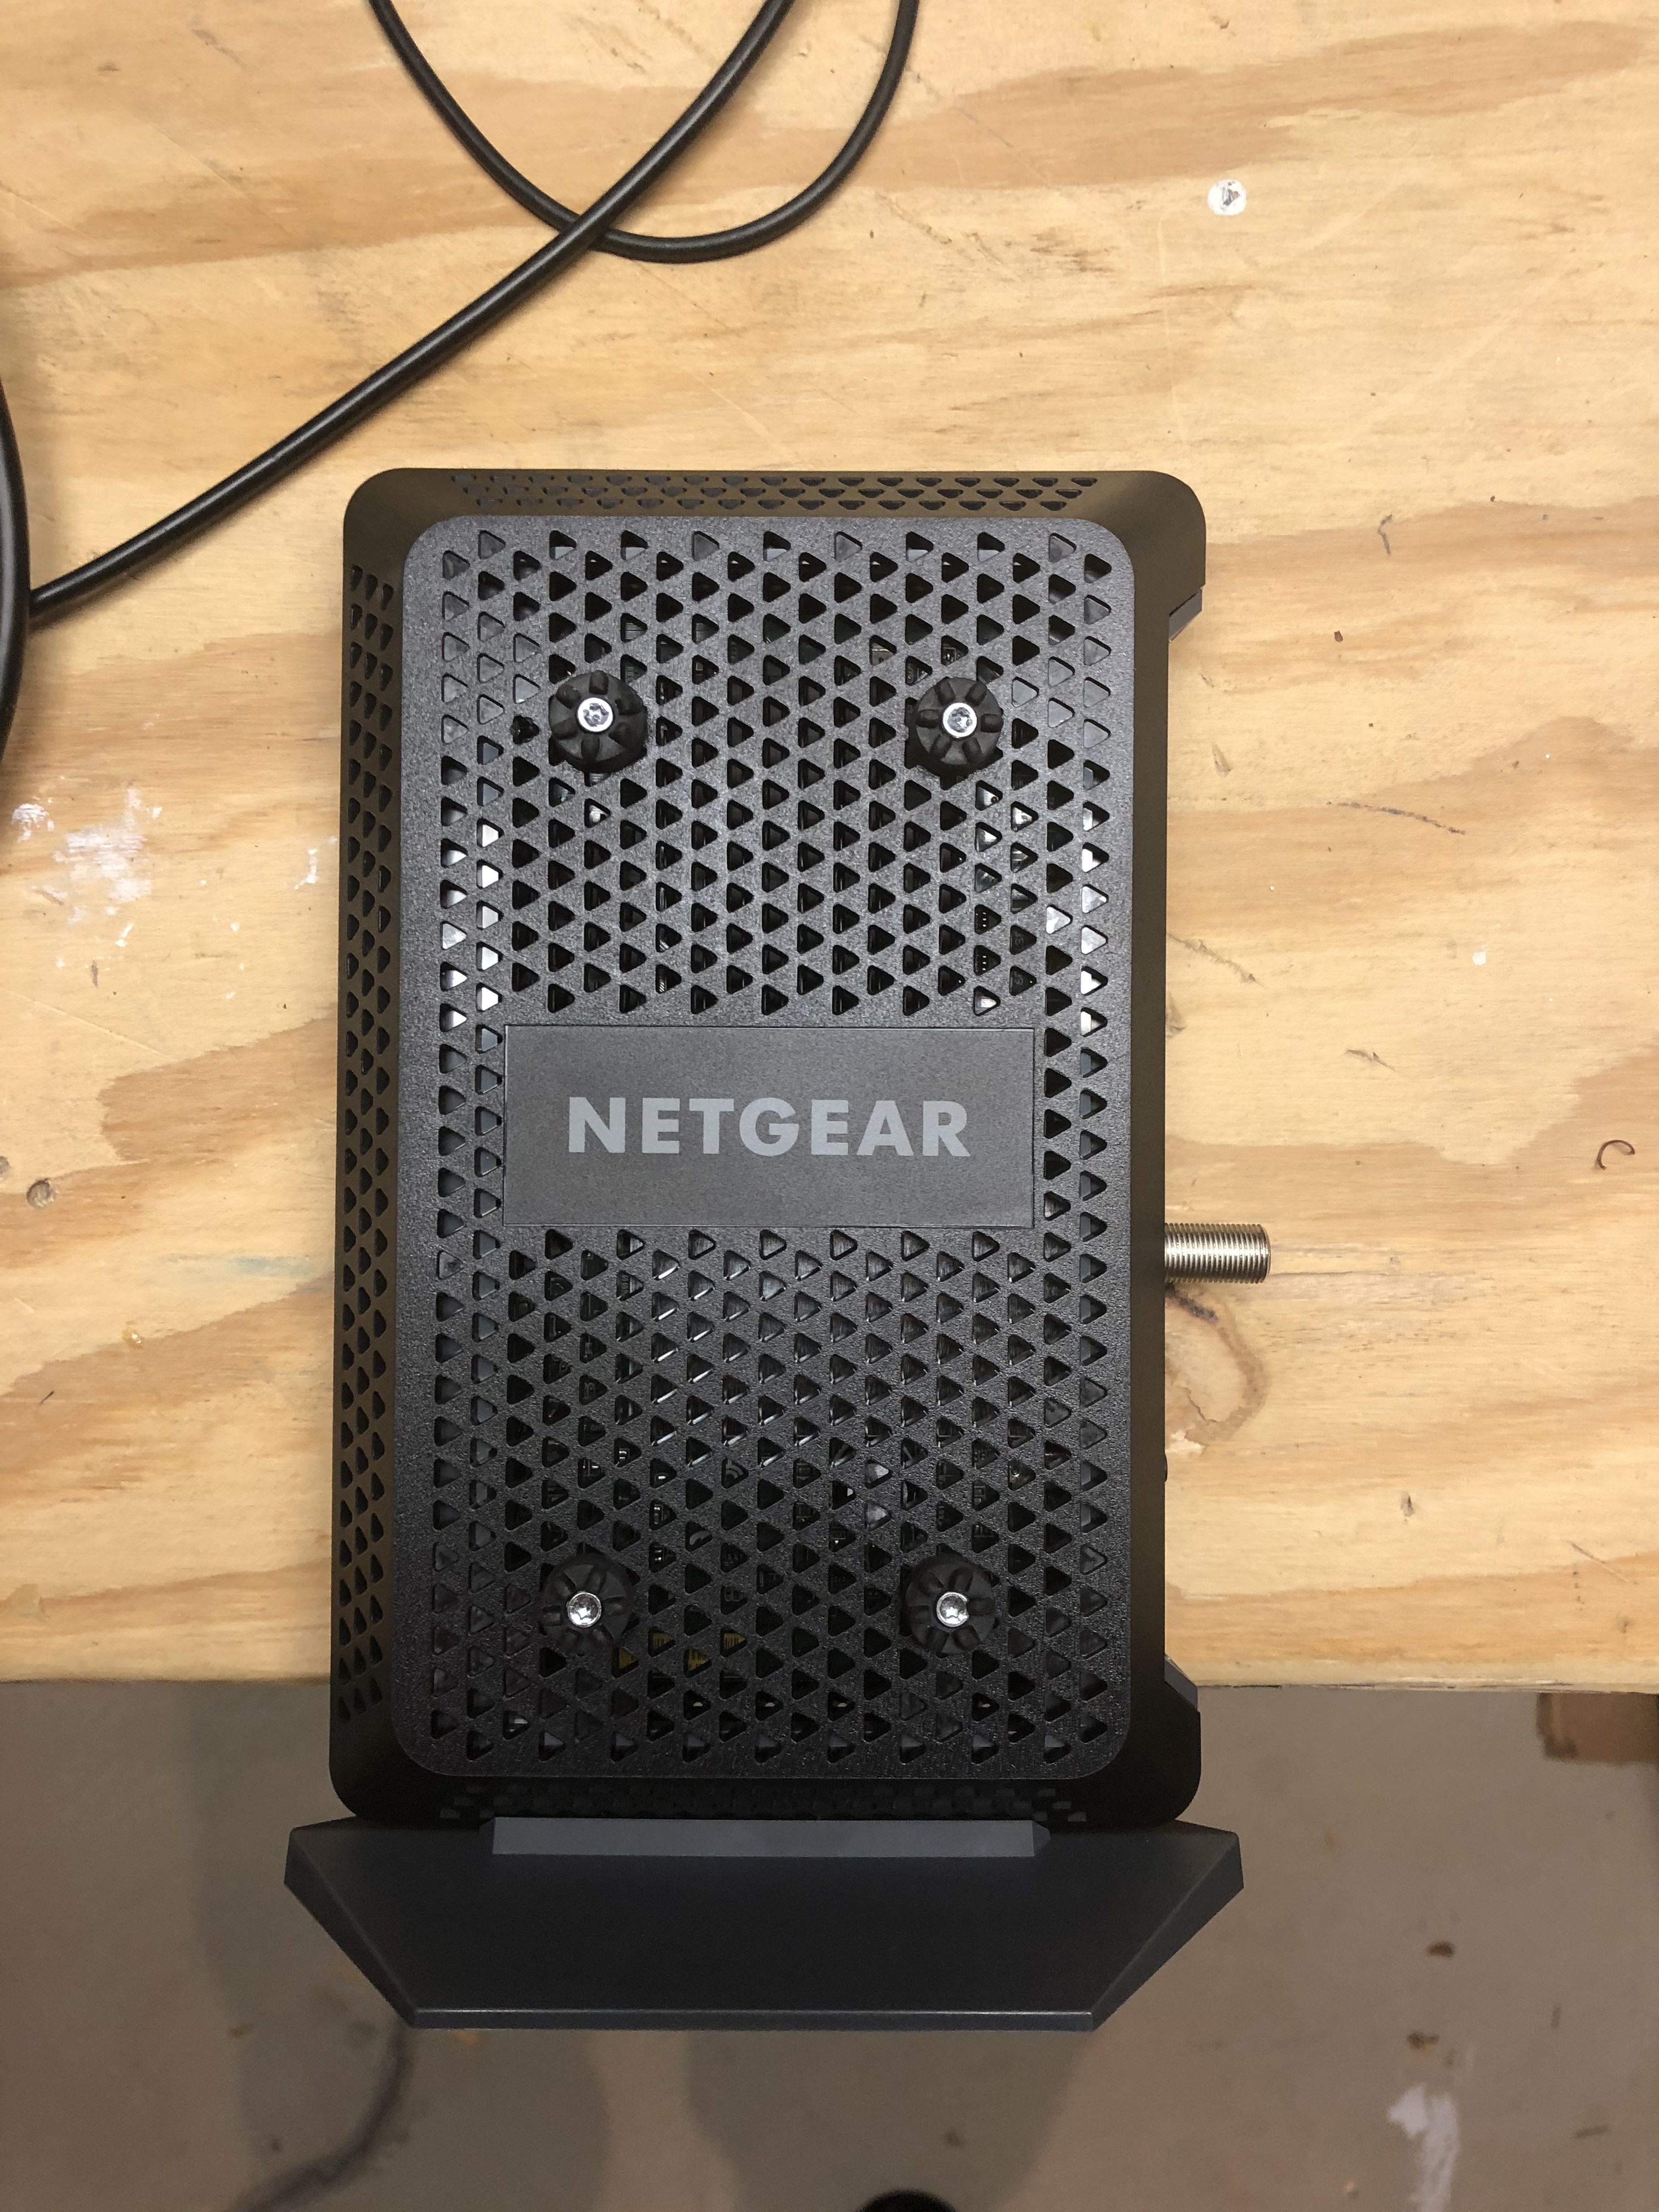
and I could then perch the modem on the top of the rack with the base hanging off the side, nearly out of view, without worrying about it getting too hot:
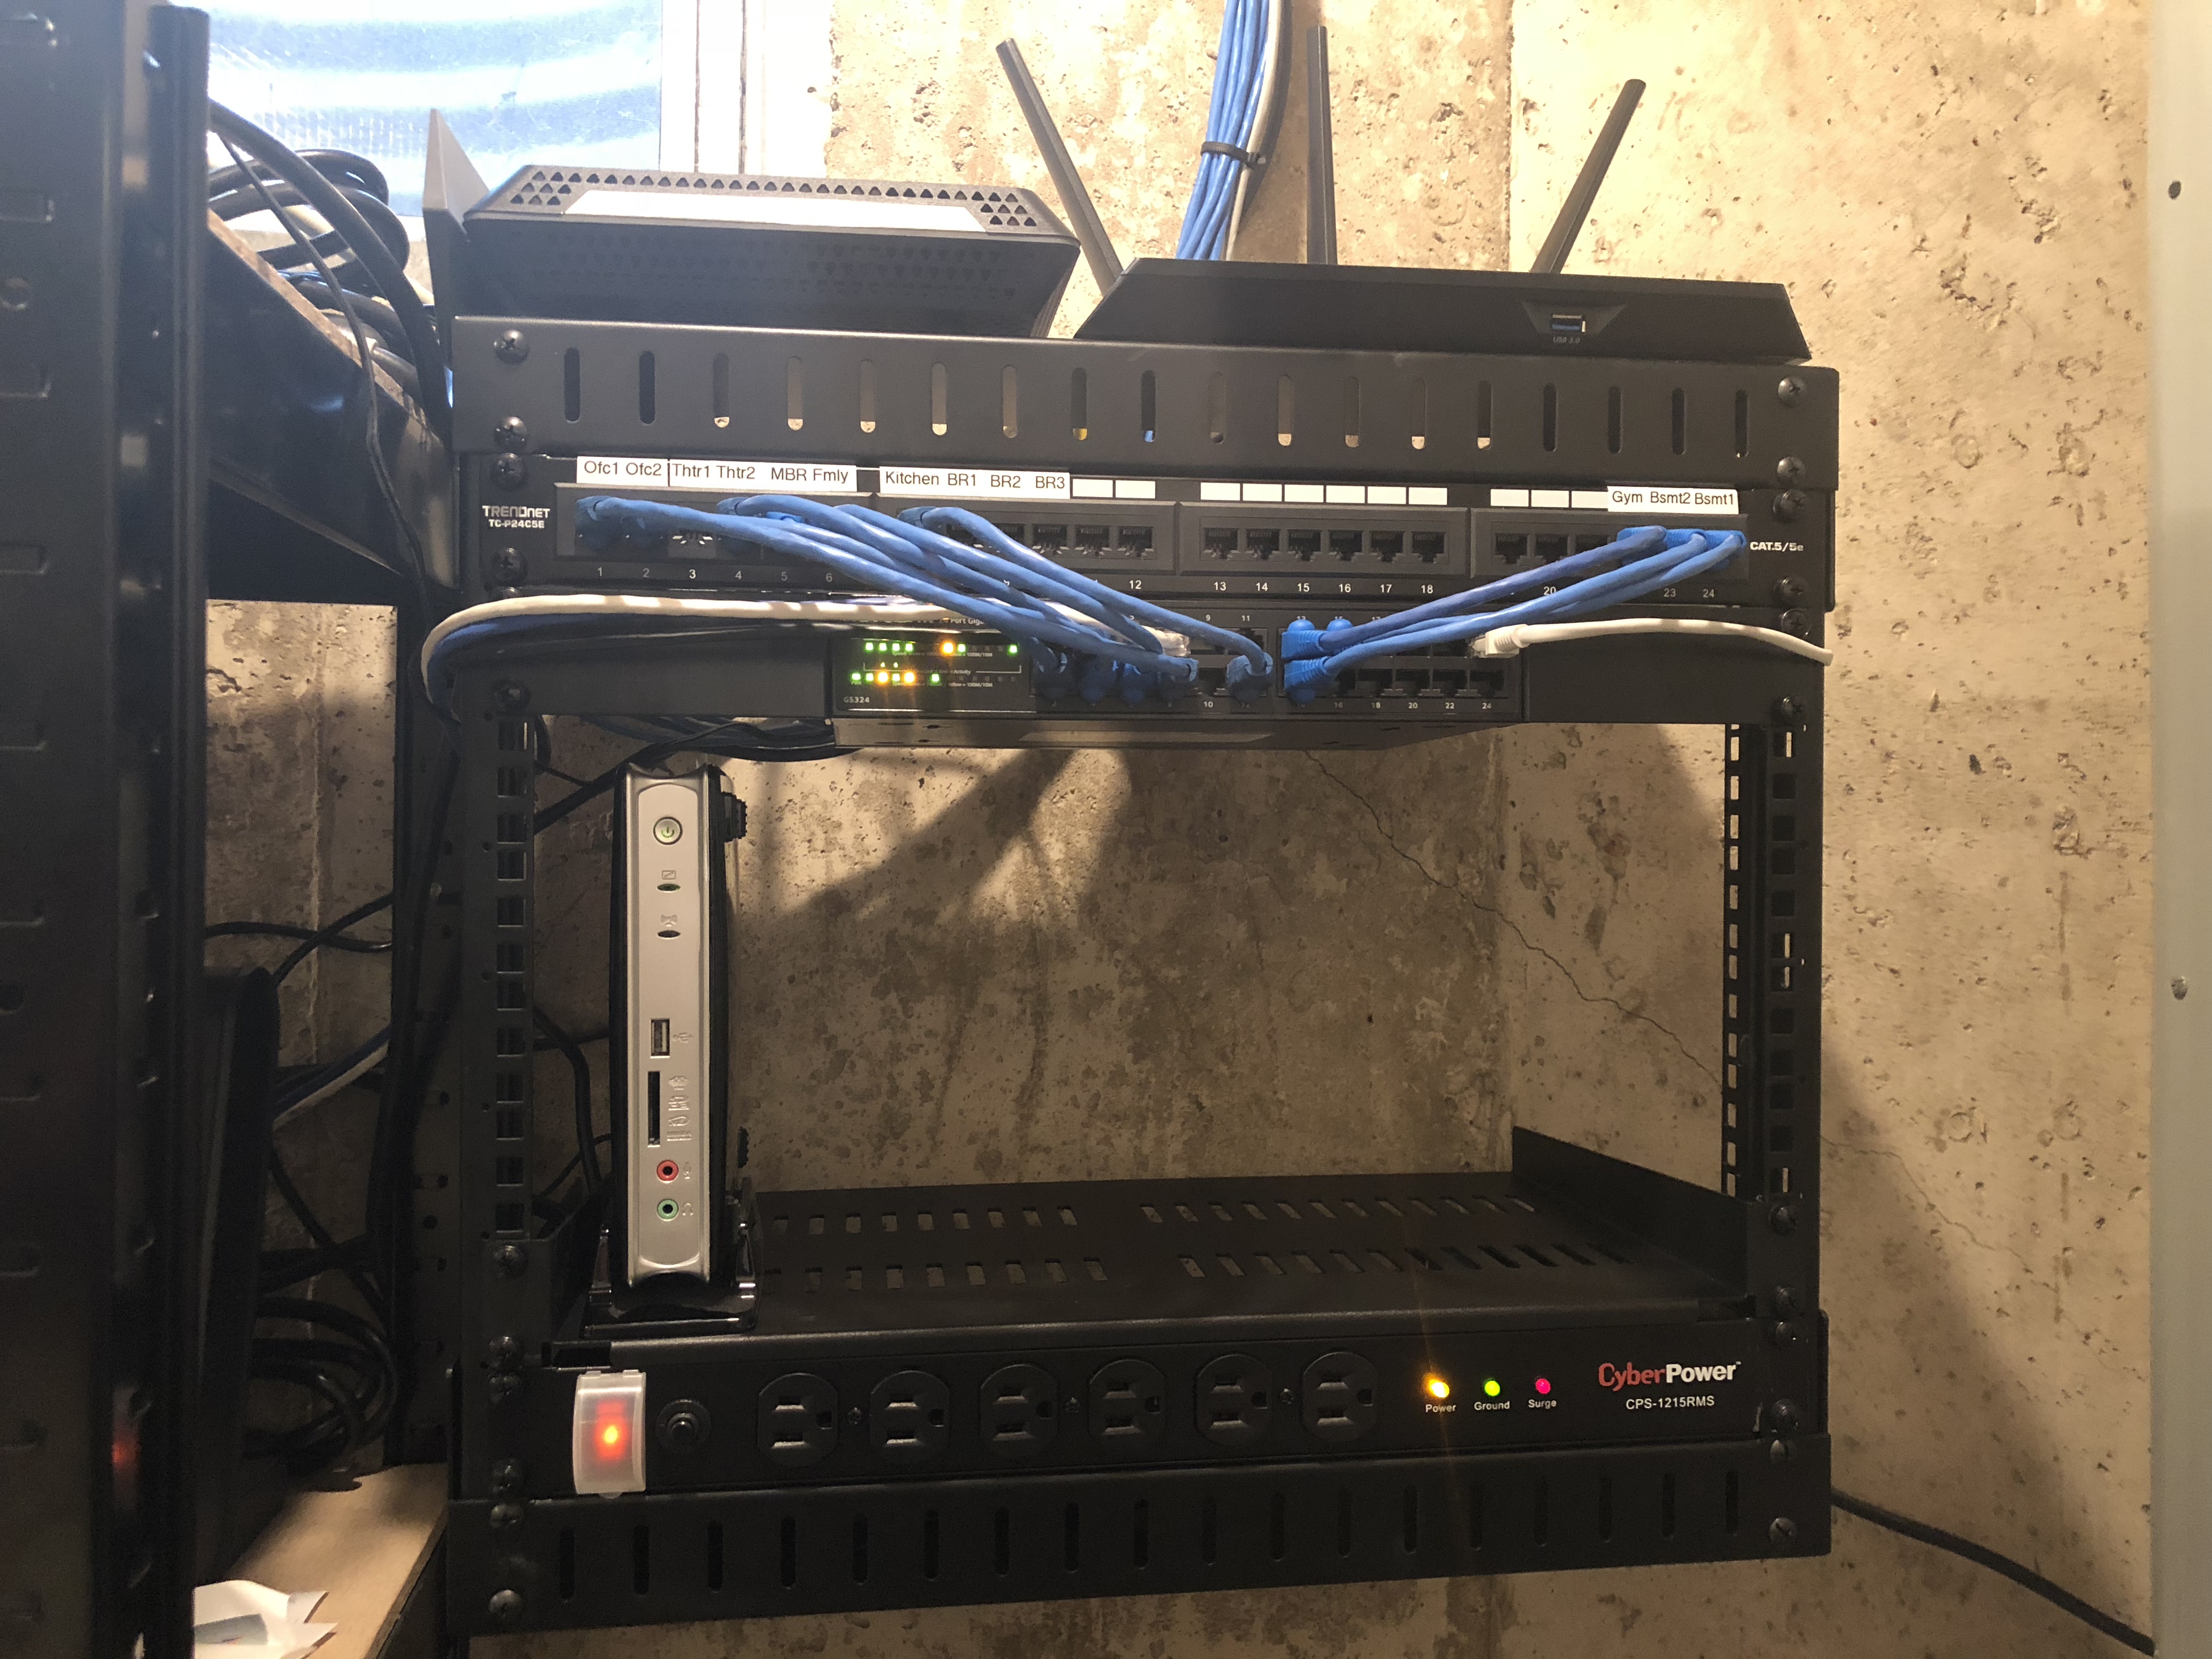
A completed view of the room and cabling, cleaned up.
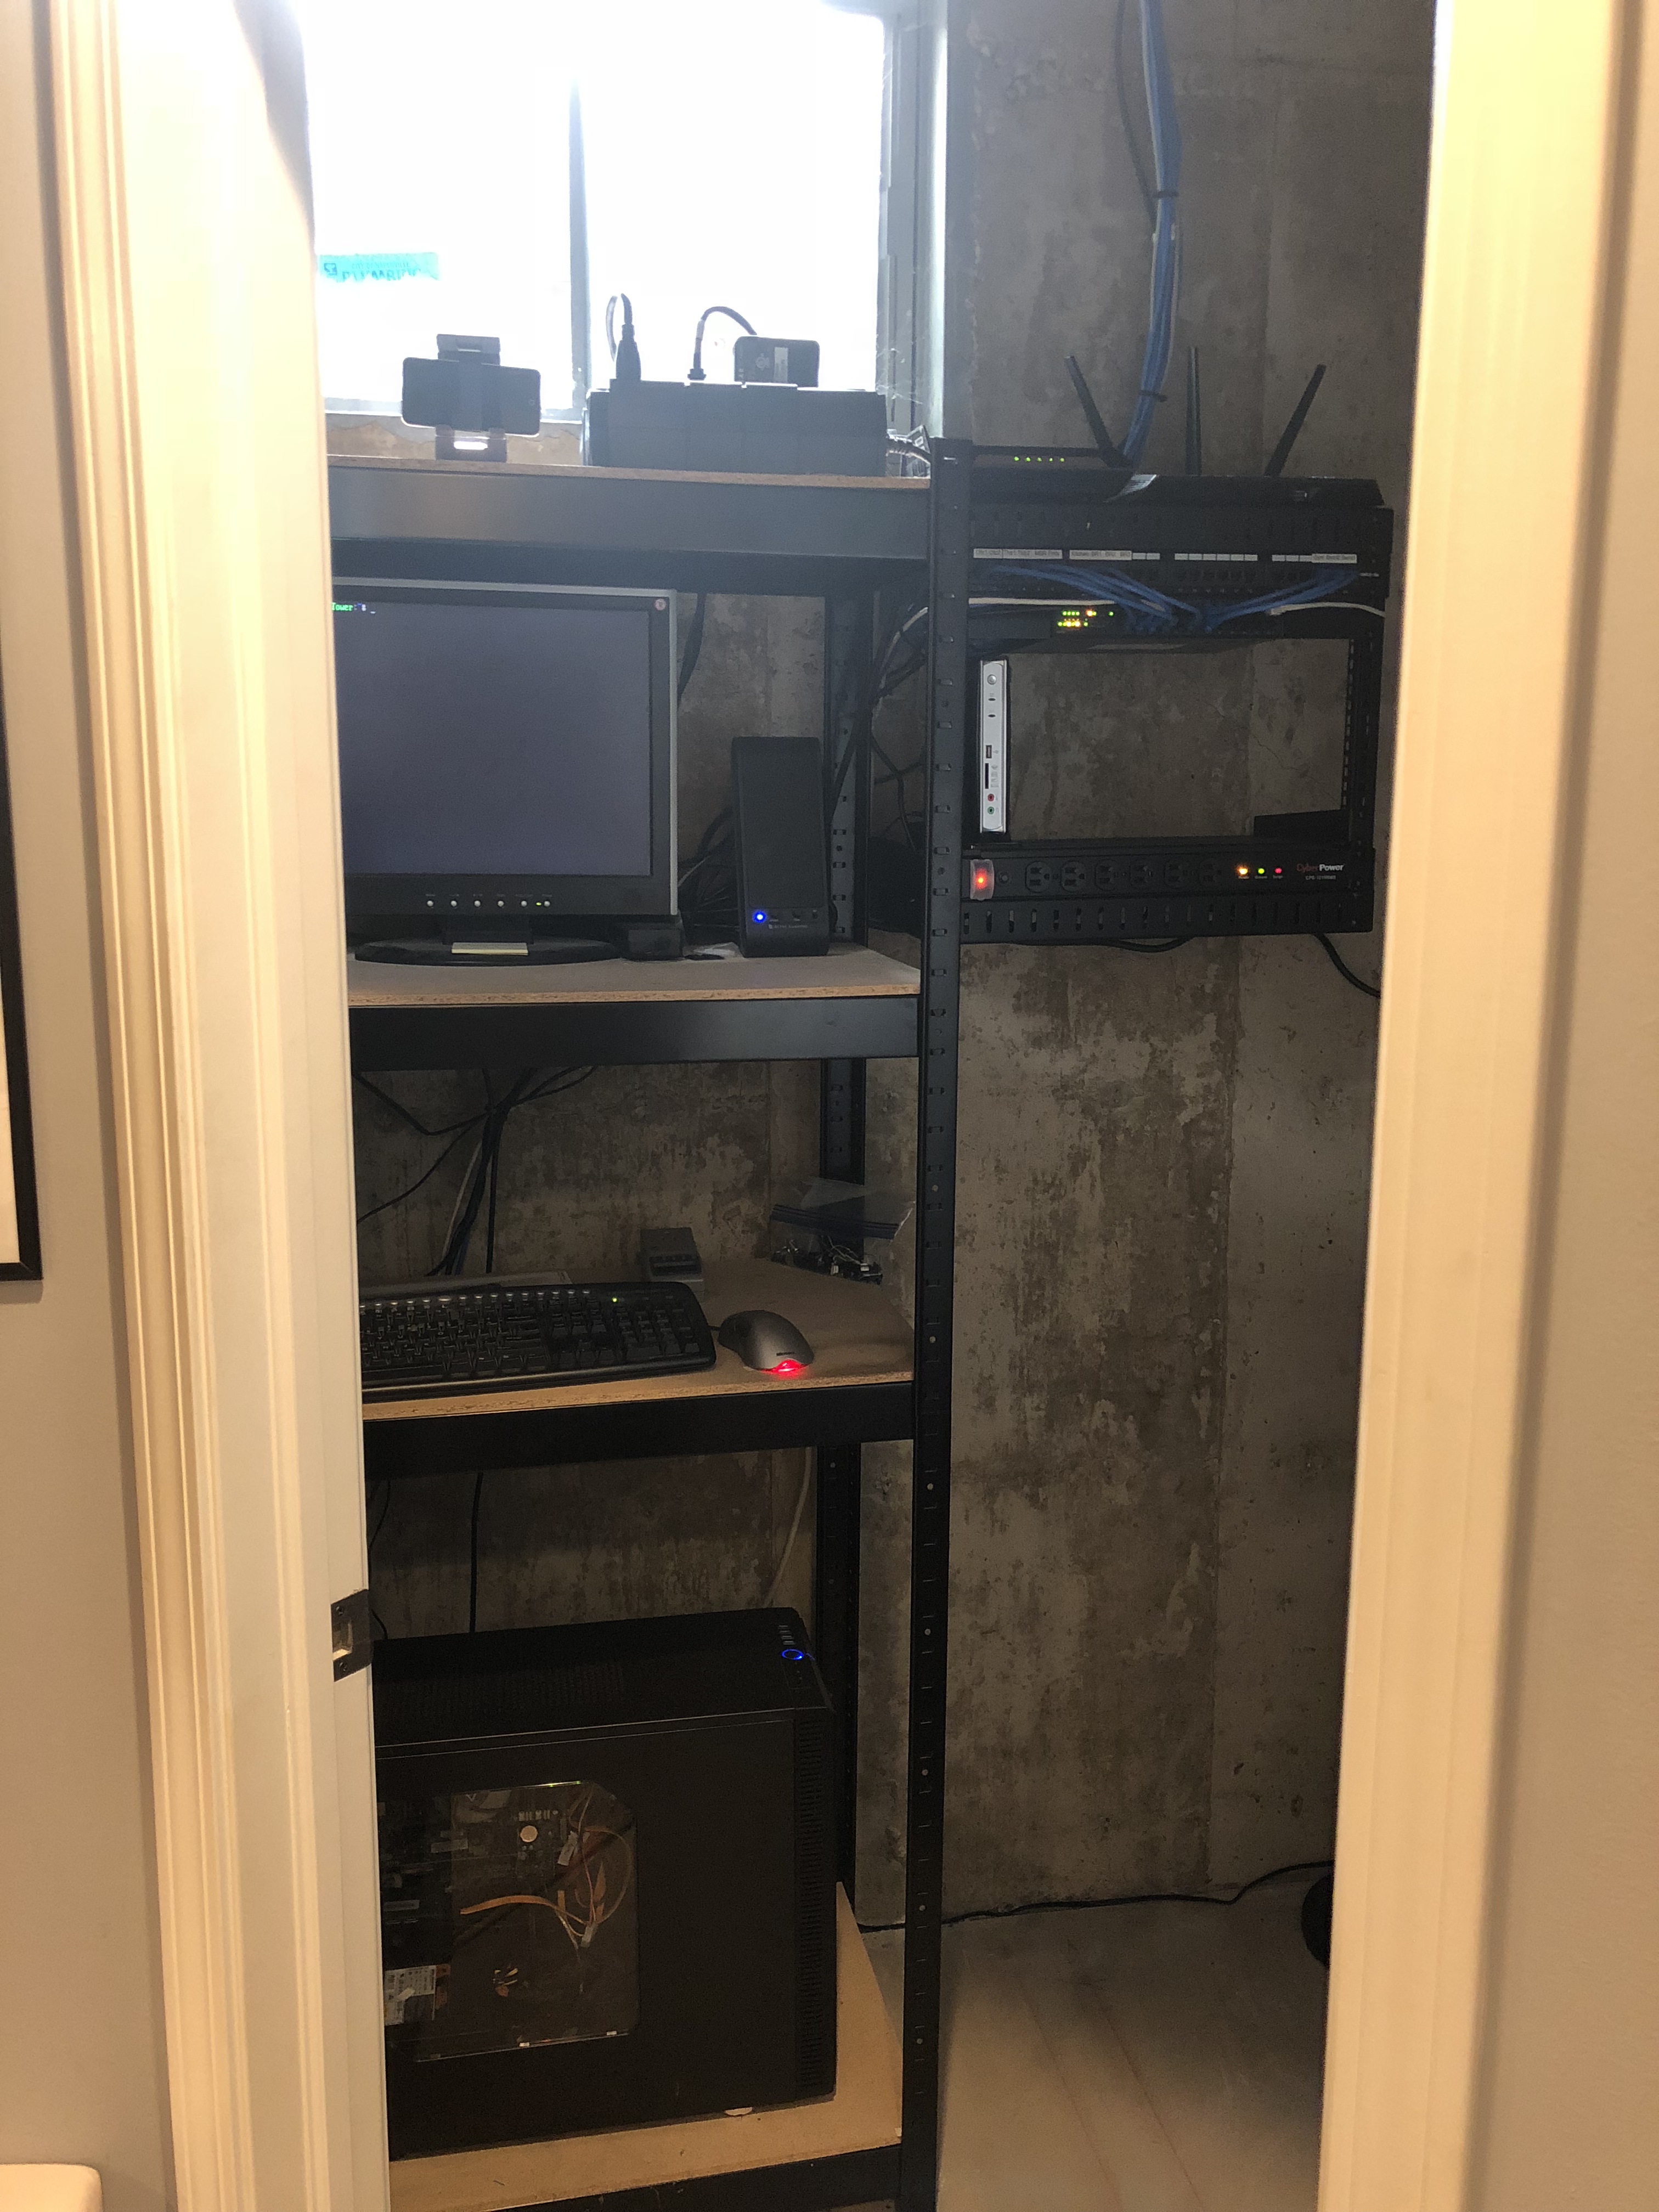
Not quite cableporn-worthy, but I'll take it.
For fun, here's a network diagram of the main wired devices in the house.

Next step: a rack-mounted stereo amp to drive my outdoor speakers, whose wires also terminate in this room but are currently fished into the adjoining rec room's 2nd zone receiver. Probably wait until spring for this.
Also I plan to relocate my HDHomerun Prime to this rack as well. It never really made sense for it to be in my theater rack.
I also have started to dip my toe into Unifi networking products, in the form of a wireless access point in my kitchen (to be detailed in a future post) so I'm looking to replace my current Netgear Nighthawk R7000 router with a Unifi Edgerouter and mount it into this rack. Then I can set up a VLAN for the IoT devices.
More to come!
